Title
Create new category
Edit page index title
Edit category
Edit link
Building Workflow
After creating the workflow using the required tasks, the workflow is ready to be built.
Following are the steps to build a workflow:
- From the Domains page, select the required workflow. The Workflow Preview page. Appears. If you are in the Workflow Editor page, exiting the editor will take you to the Workflow Preview page.
- Navigate to the Workflow Preview page.
- Click the Build icon. Click Run Workflow. The workflow starts building and you can see the run status under Workflow state.
The color of the tasks notifies the status of each task (success, failed, running, skipped, or queued) as per the color legends shown at the top of the Monitor Run page.
Select any existing builds under Run drop down to view detailed information of the workflow execution.
NOTE: If there are any failed tasks, they will display as Failed (Red). You can click on that failed task to directly navigate to the task, fix it, and click Resume or Restart to continue to the workflow build.
To view the job logs or task logs for each task, click on the task on the workflow execution page.
Click View Task Logs or View Job Logs to view the respective logs.
Build Options
- The Pause feature is used to stop the workflow build temporarily during maintenance windows.
- The Resume option displays if you have paused the workflow build and want to continue from where you left off.
- The Restart option allows you to restart all failed tasks in the workflow.
- Clicking the Cancel option stops the workflow build at a logical point of the build.
Viewing Execution Time
Click the Execution Time option to view the time taken to execute each task, as shown below.
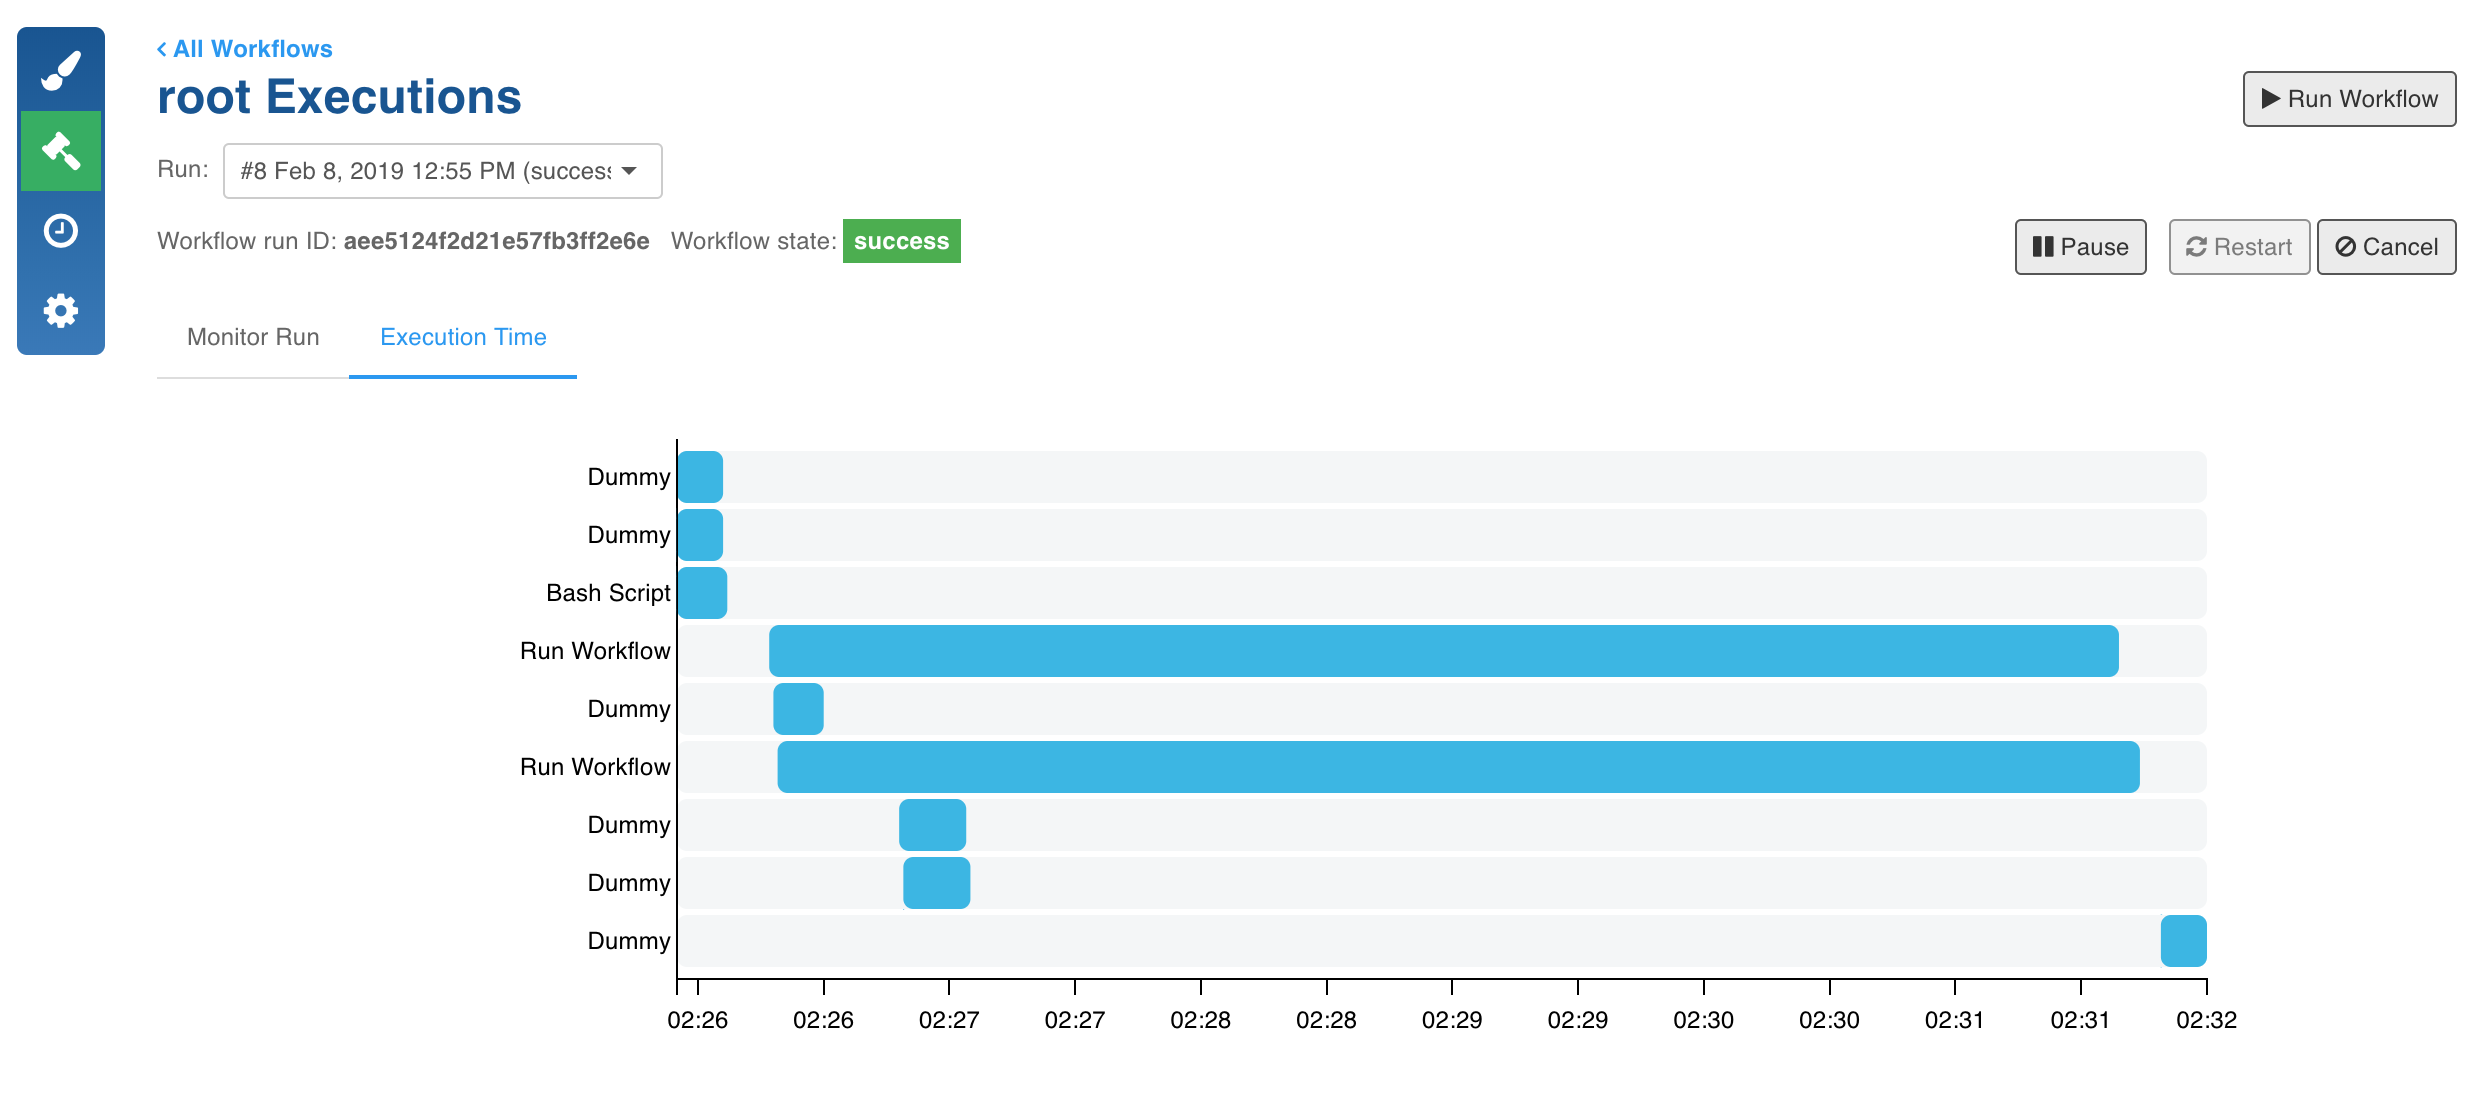
You can mouse-over on each task to view more information about that task.
Scheduling Workflow Build
Following are the steps to schedule a workflow build:
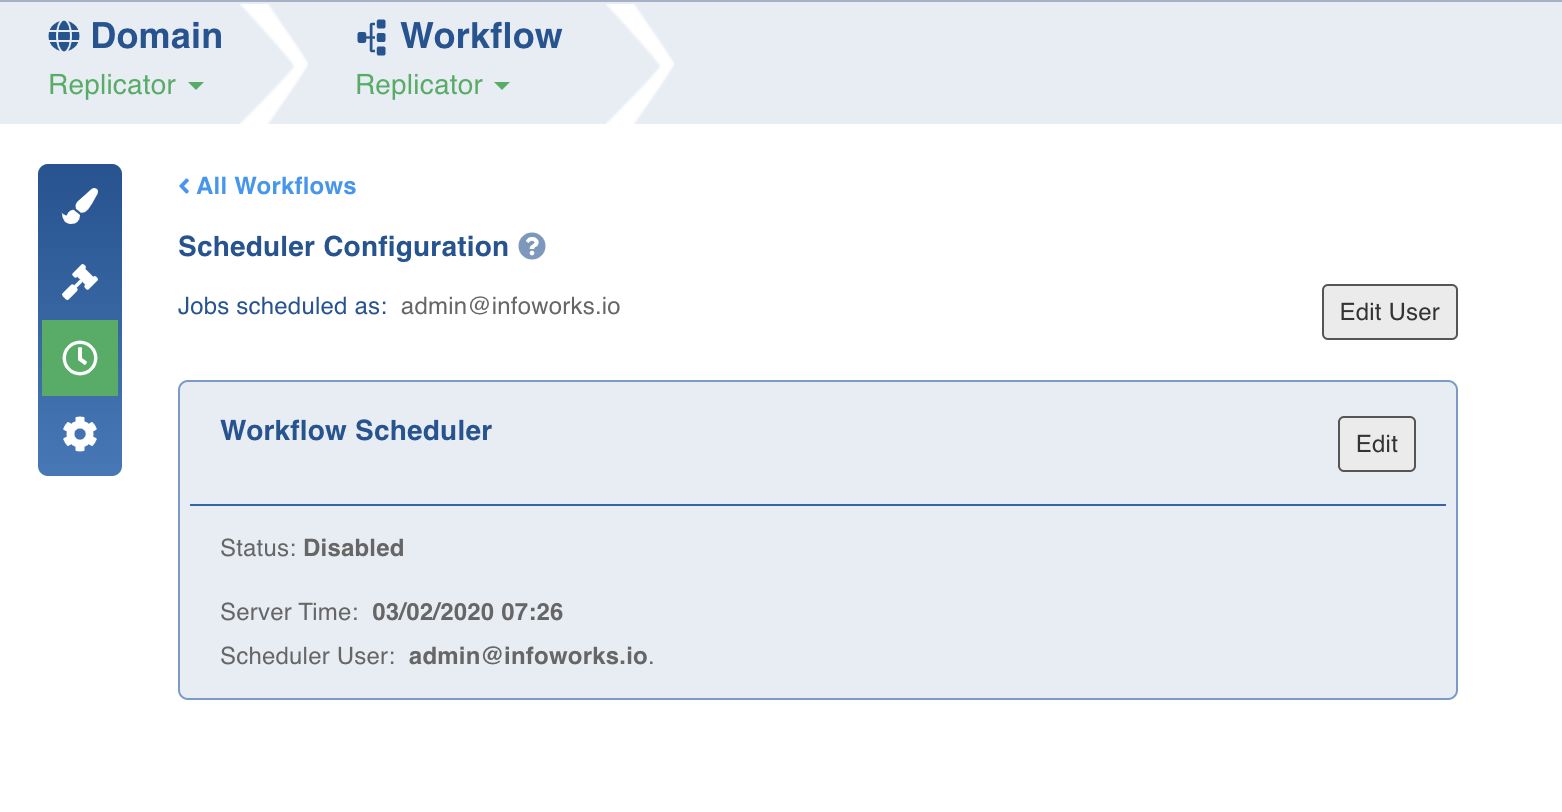
- In the Workflows page, select the workflow to be scheduled and click the Schedule icon. The following page is displayed:
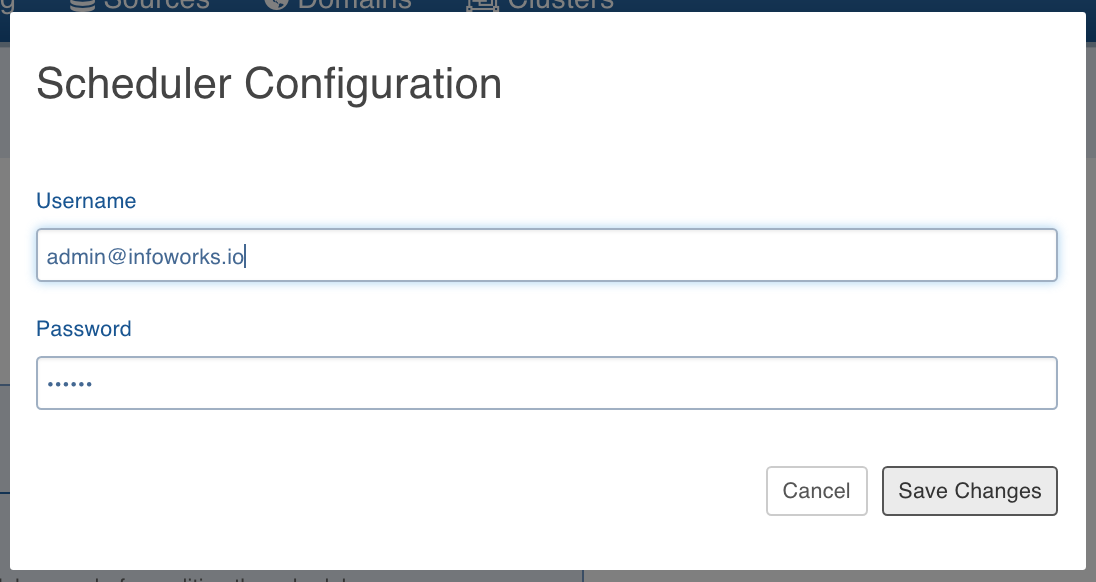
- Click Edit User to set the user details and click Save Changes. The details set up defines the user who would run the workflow.
- In the Workflow Scheduler section, click Edit to set the schedule for running the workflow. The Workflow Scheduler window is displayed.
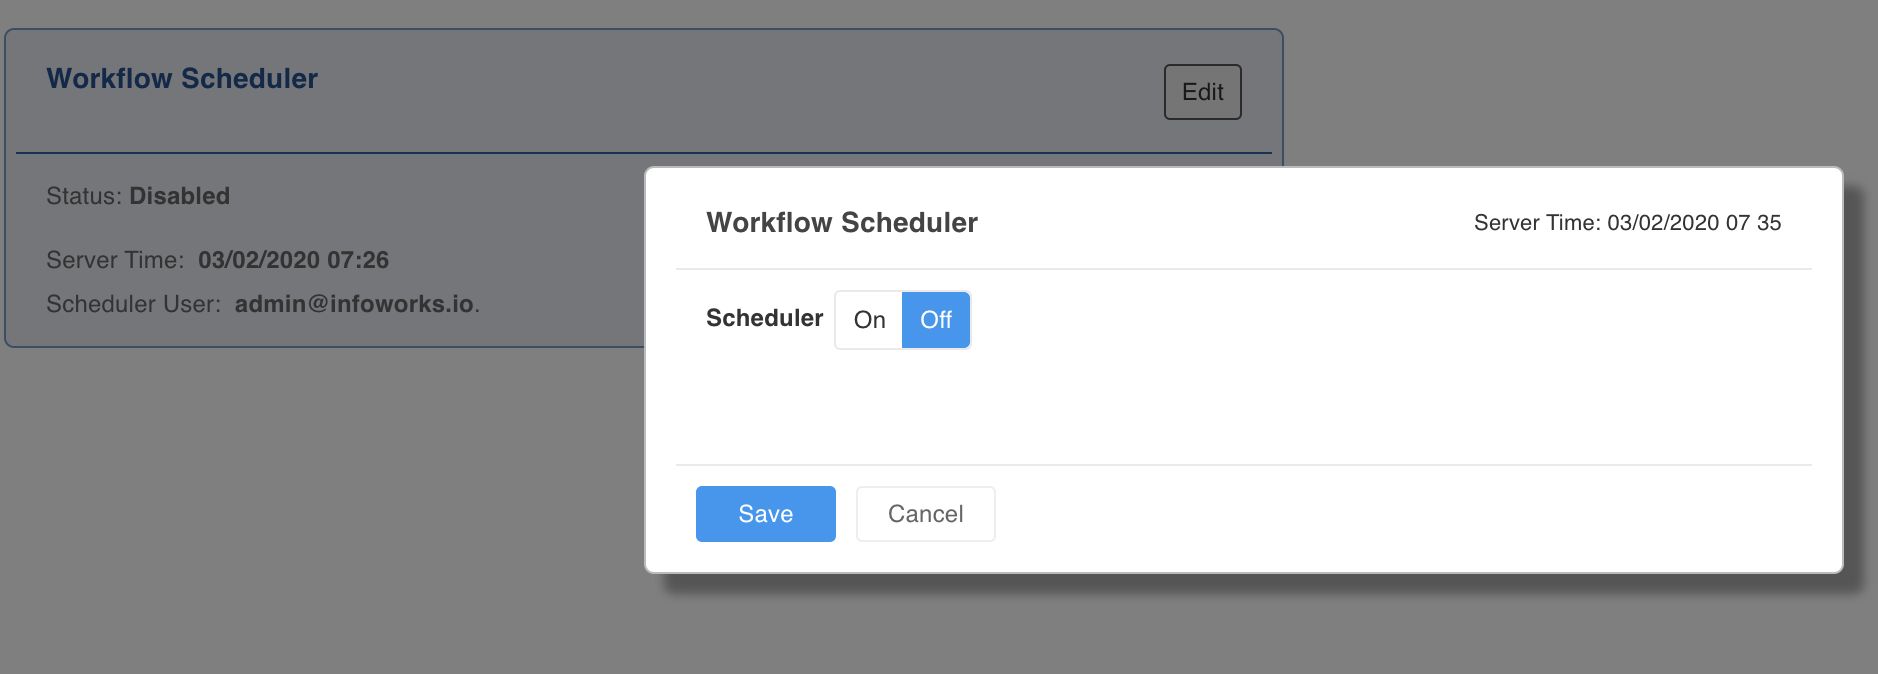
- Select On using the Scheduler slide button.
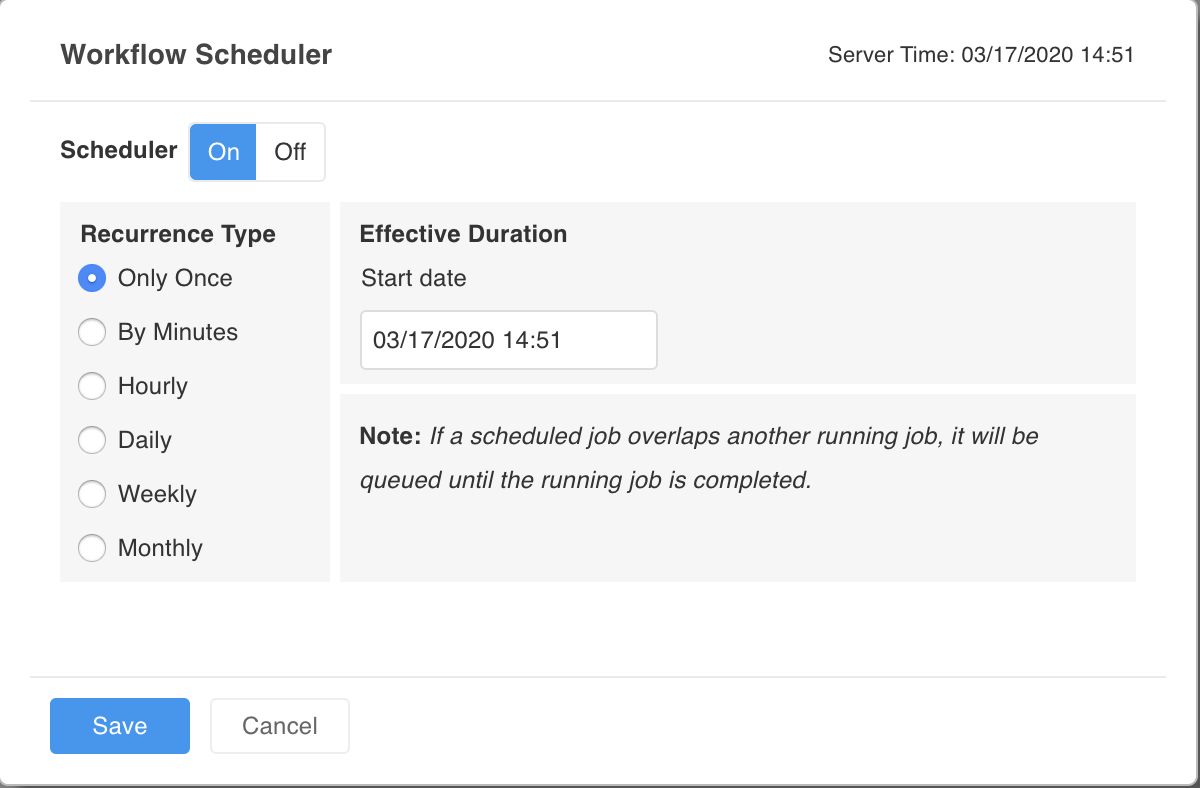
- Select the required option for Recurrence Type and Effective Duration fields. The options available under the Recurrence Type field processes accurately as their names suggest. Effective Duration field allows you to configure the date, time, execution options, and customisations of the respective Recurrence Type field value selected.
- Save the configured settings by clicking the Save button. The workflow build will be scheduled accordingly.
NOTE: If a job scheduled overlaps another running job, the scheduled job will be queued until the running job is completed.
For more details, refer to our Knowledge Base and Best Practices!
For help, contact our support team!
(C) 2015-2022 Infoworks.io, Inc. and Confidential