Title
Create new category
Edit page index title
Edit category
Edit link
Configuring Cube
After successful creation of the cube, follow these steps to configure the cube:
- On the Design page, click the settings icon. The Cube Settings page is displayed.
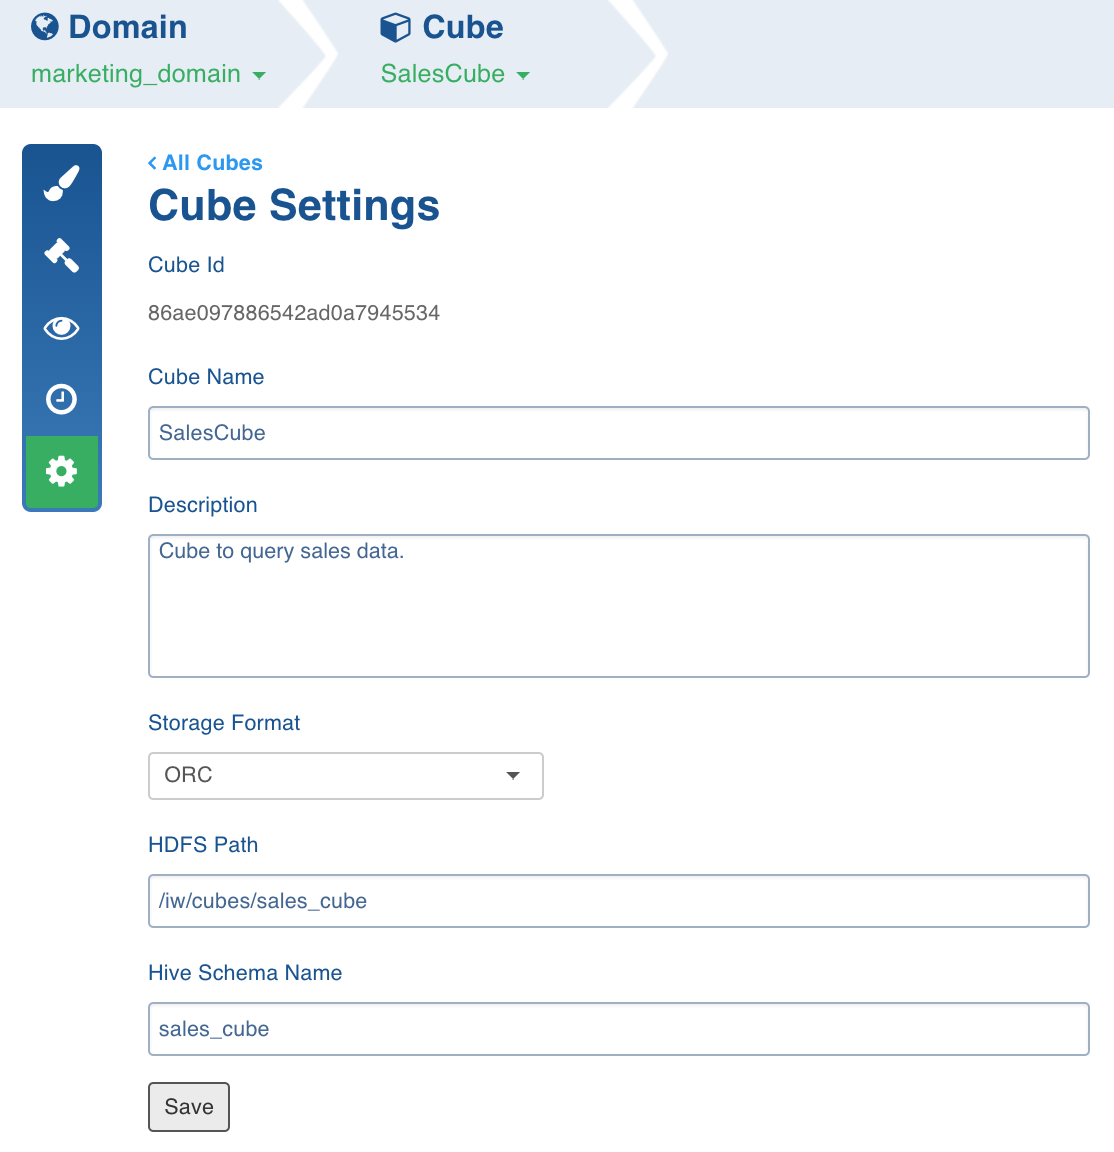
- Modify or add values to the fields as required.
Cube Configuration Migration
For a successful cube configuration migration, the table names in the exported file must exactly match the table names in the environment where the cube configuration is being imported.
Exporting Cube Configuration
To export a cube configuration, follow these steps:
- Click Domains from the top menu.
- On the Domains page, click the domain where the required cube is created.
- On the Summary page of the domain, click the cube for which configuration must be migrated.
- Click the Settings icon.
- On the Settings page, locate the Configuration Migration section as shown below.
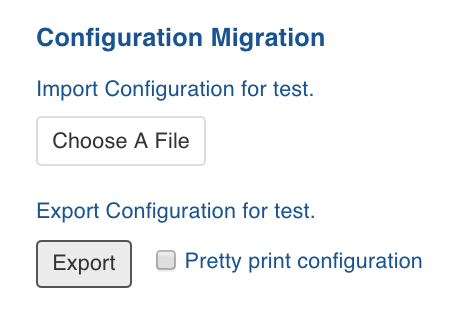
- Click Export. The cube configuration gets downloaded.
Importing Cube Configuration
To import a cube configuration, follow these steps:
- Click Domains from the top menu.
- On the Domains page, click the domain where the required cube is created.
- On the Summary page of the domain, click the cube for which configuration must be migrated.
- Click the Settings icon.
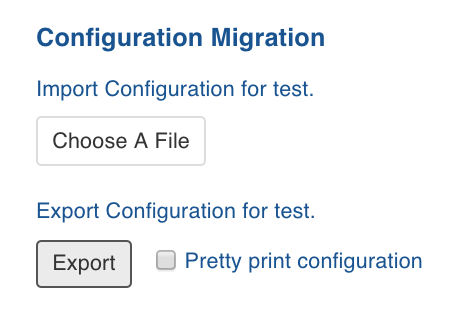
- On the Settings page, locate the Configuration Migration section.
- Click Choose A File and select the required cube configuration file.
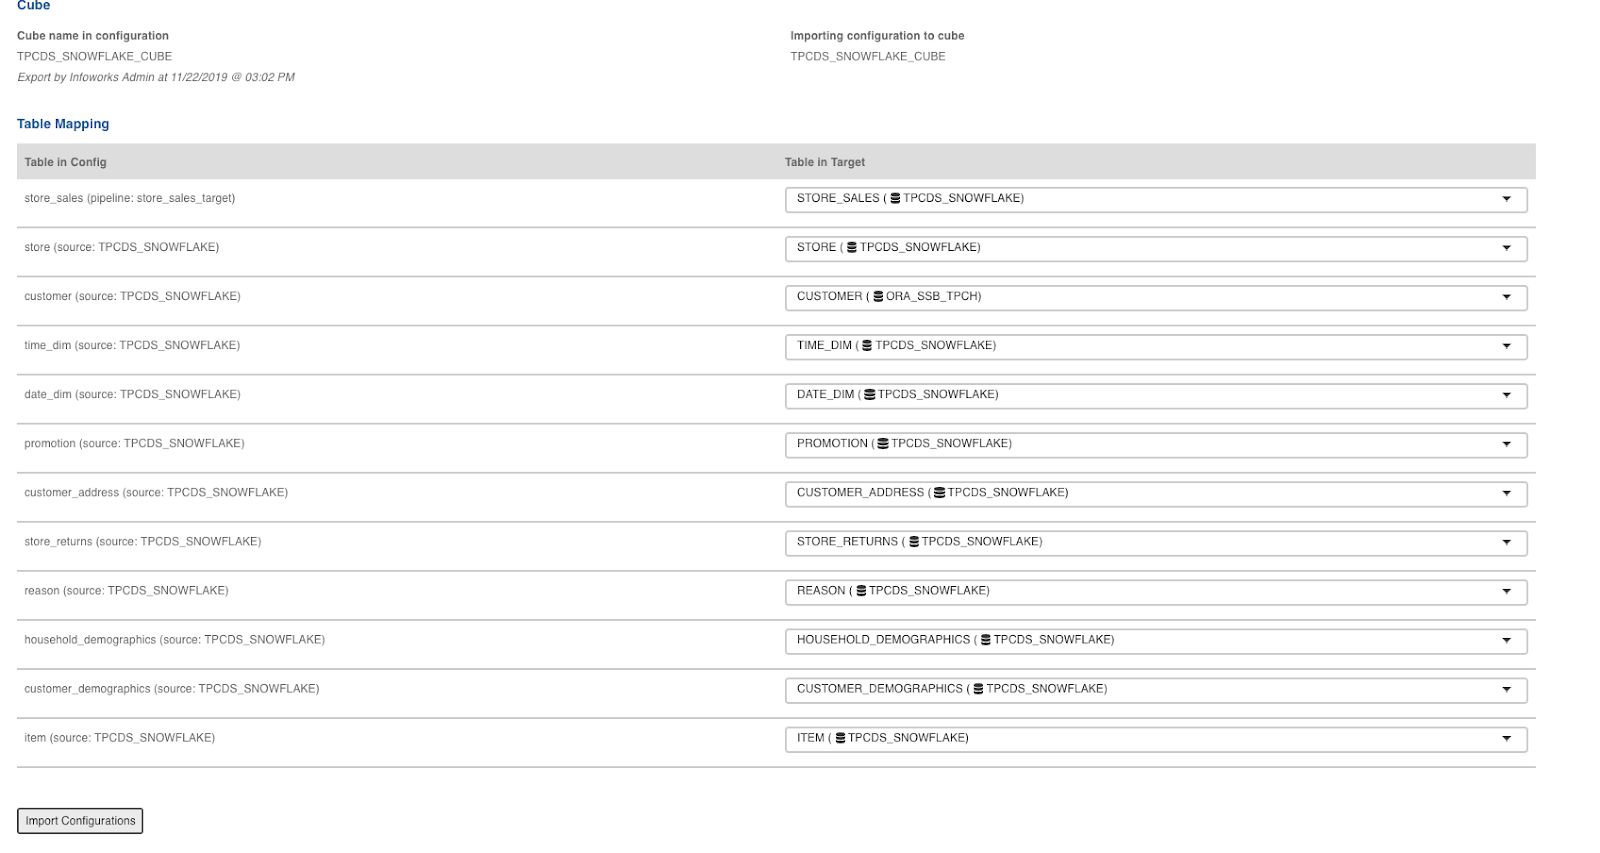
NOTE: On this screen, you can view the table mapping between the imported file and the tables in the domain. If a table mapping is not available, an error displays next to the table in question.
- Click Import Configurations to import the cube configuration.
Restoring Cube
When the cube is in incremental mode and a design or configuration change has been performed after successful incremental builds, the cube might fail. You can click the Restore button in the Restore Cube section to restore the last successful build design.

Cube Advanced Configurations
Following are the steps to set advanced configurations for cube:
- Navigate to the cube Design page.
- Click Settings icon on the left menu.
- In the cube Settings page, scroll down to locate Advanced Configurations section. A sample is as follows:

- Click Add Configuration.
- Enter the Key and Value.
- Click Save.
Some of the key advanced configurations are:
Configuring Execution Engine for Cube
Infoworks DataFoundry supports MapReduce and Spark cube execution engines.
Following are the steps to configure the execution engine:
- Navigate to the required cube and click the Settings icon.
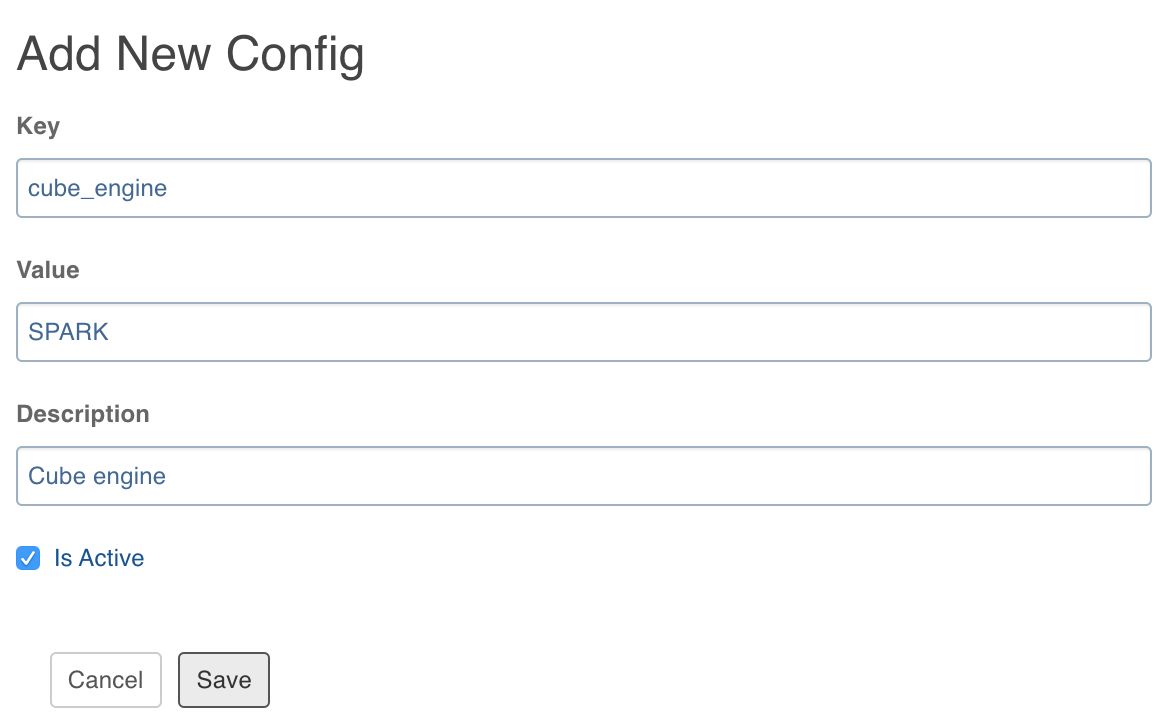
- Scroll down to the Advanced Configurations section and click Add Configuration.
- Set the key as cube_engine and value as MAPREDUCE/SPARK to configure the execution engine.
- The default Cube execution engine is MapReduce.
- Click Save.
NOTE: In order to enable Spark execution engine in cubes, you must set the value of kylin.env.hadoop-conf-dir parameter in the Kylin properties to a directory name which consists of the following files: core-site.xml, hdfs-site.xml, hive-site.xml, mapred-site.xml, and yarn-site.xml.
Specifying a YARN Queue for Cube Builds
The procedure to specify queue differs based on the execution engine selected.
For MapReduce-based cubes:
- Navigate to the required cube and click the Settings icon.
- Scroll down to the Advanced Configurations section and click Add Configuration.
- Set the key as iw.job.mr.config.override.mapreduce.job.queuename and value should contain the YARN queue name that should be used.
- Click Save.
For Spark-based cubes, you can specify the YARN queue to be used for all cube builds (not cube-specific):
- On the Infoworks edge node, navigate to ** /cube-engine/conf/** (IWHOME is the base directory where Infoworks is installed; typically it is /opt/infoworks/).
- Open the kylin.properties file.
- Add or modify the following property - kylin.engine.spark-conf.spark.yarn.queue=
- Restart the cube engine.
Notification Services
- In the Cube Settings page, click Add New Subscriber button.
- Enter the email ID of the subscriber.
- Select the Notify Via options which include email and slack.
- Select the jobs for which the subscriber must be notified. The jobs include build and deletion of cube.
- Click Save. The subscriber will be notified for the selected jobs.
NOTE: The settings can be configured for a single email ID only once for a Cube. If you change the notification settings for the same email ID, the initial settings for the will be overridden.
For more details, refer to our Knowledge Base and Best Practices!
For help, contact our support team!
(C) 2015-2022 Infoworks.io, Inc. and Confidential