DataFoundry 2.9.1
2.9.1
Core Functionalities
Title
Message
Create new category
What is the title of your new category?
Edit page index title
What is the title of the page index?
Edit category
What is the new title of your category?
Edit link
What is the new title and URL of your link?
Azure Infoworks Installer Deployment
Copy Markdown
Open in ChatGPT
Open in Claude
See Prerequisites to Spin-up Infoworks on Azure HDInsight before spinning-up Infoworks/HDInsight. Infoworks internal Azure environment is in compliance with these prerequisites.
Finding and Deploying the Infoworks Offering from Azure Portal
- Login to Azure Portal.
- Click Create a resource to a create new resource.
- Enter Infoworks Installer in the search box and press Enter.
NOTE: The Infoworks Installer will be displayed only when the Subscription ID is whitelisted.
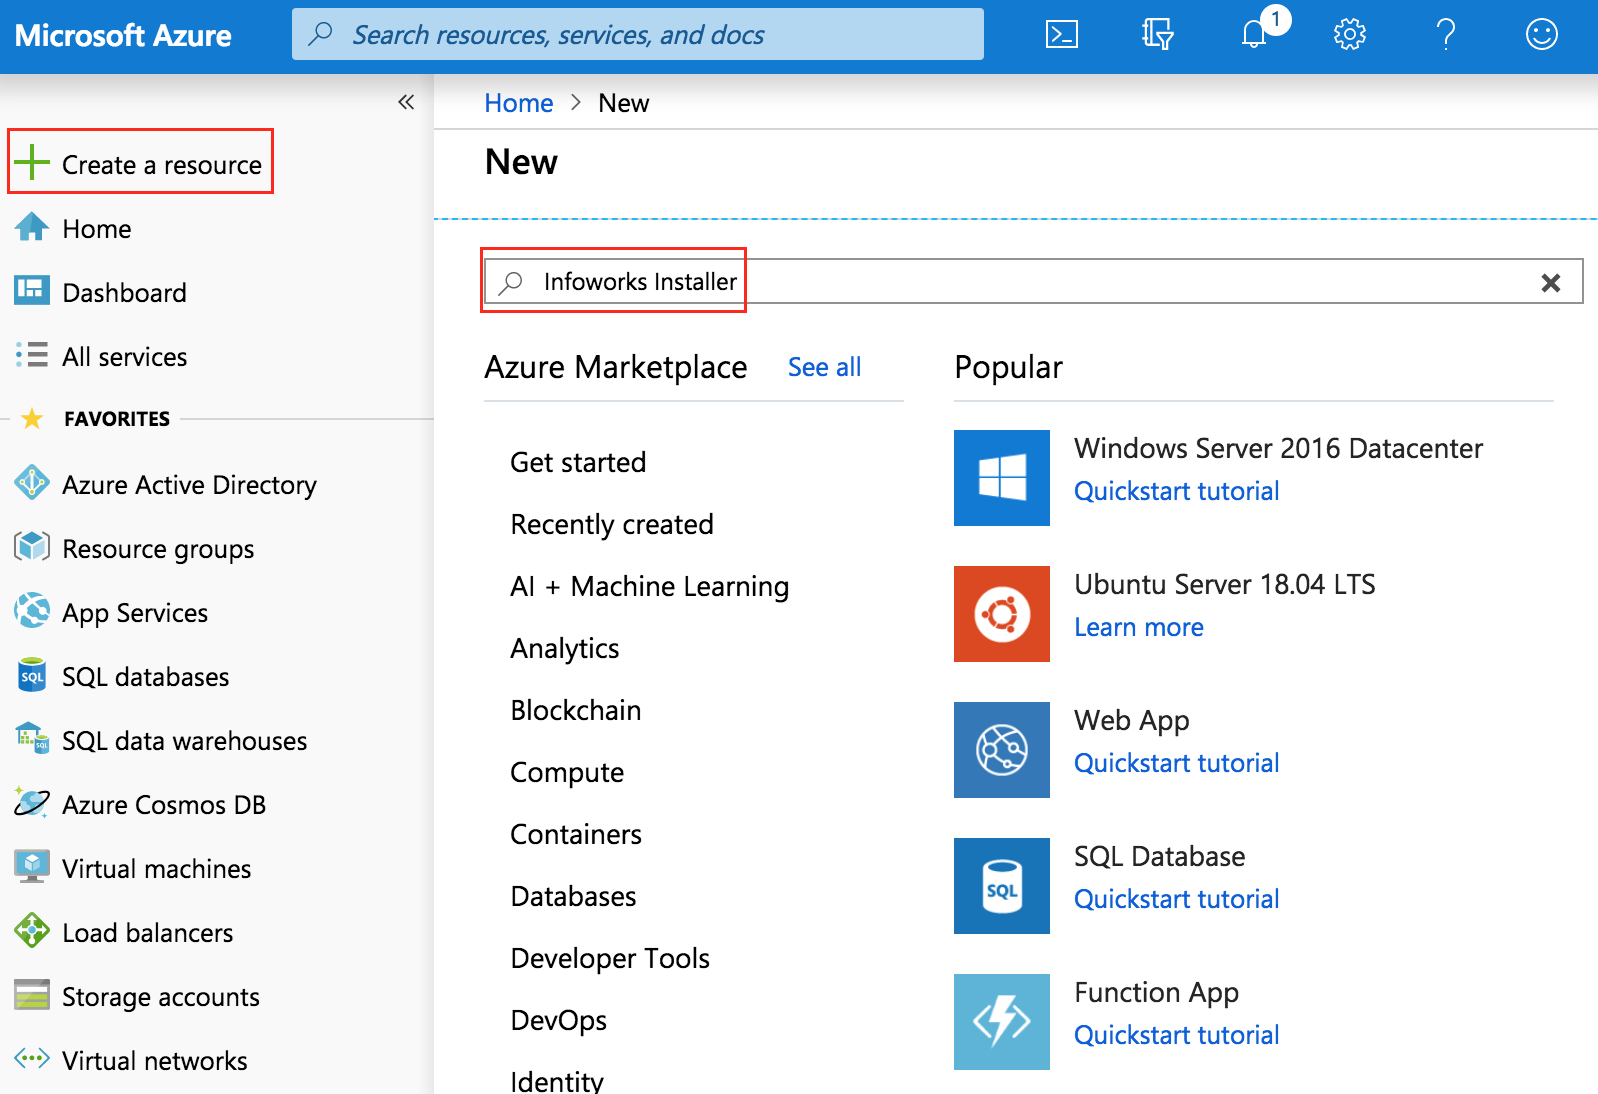
- Infoworks Installer will be displayed.
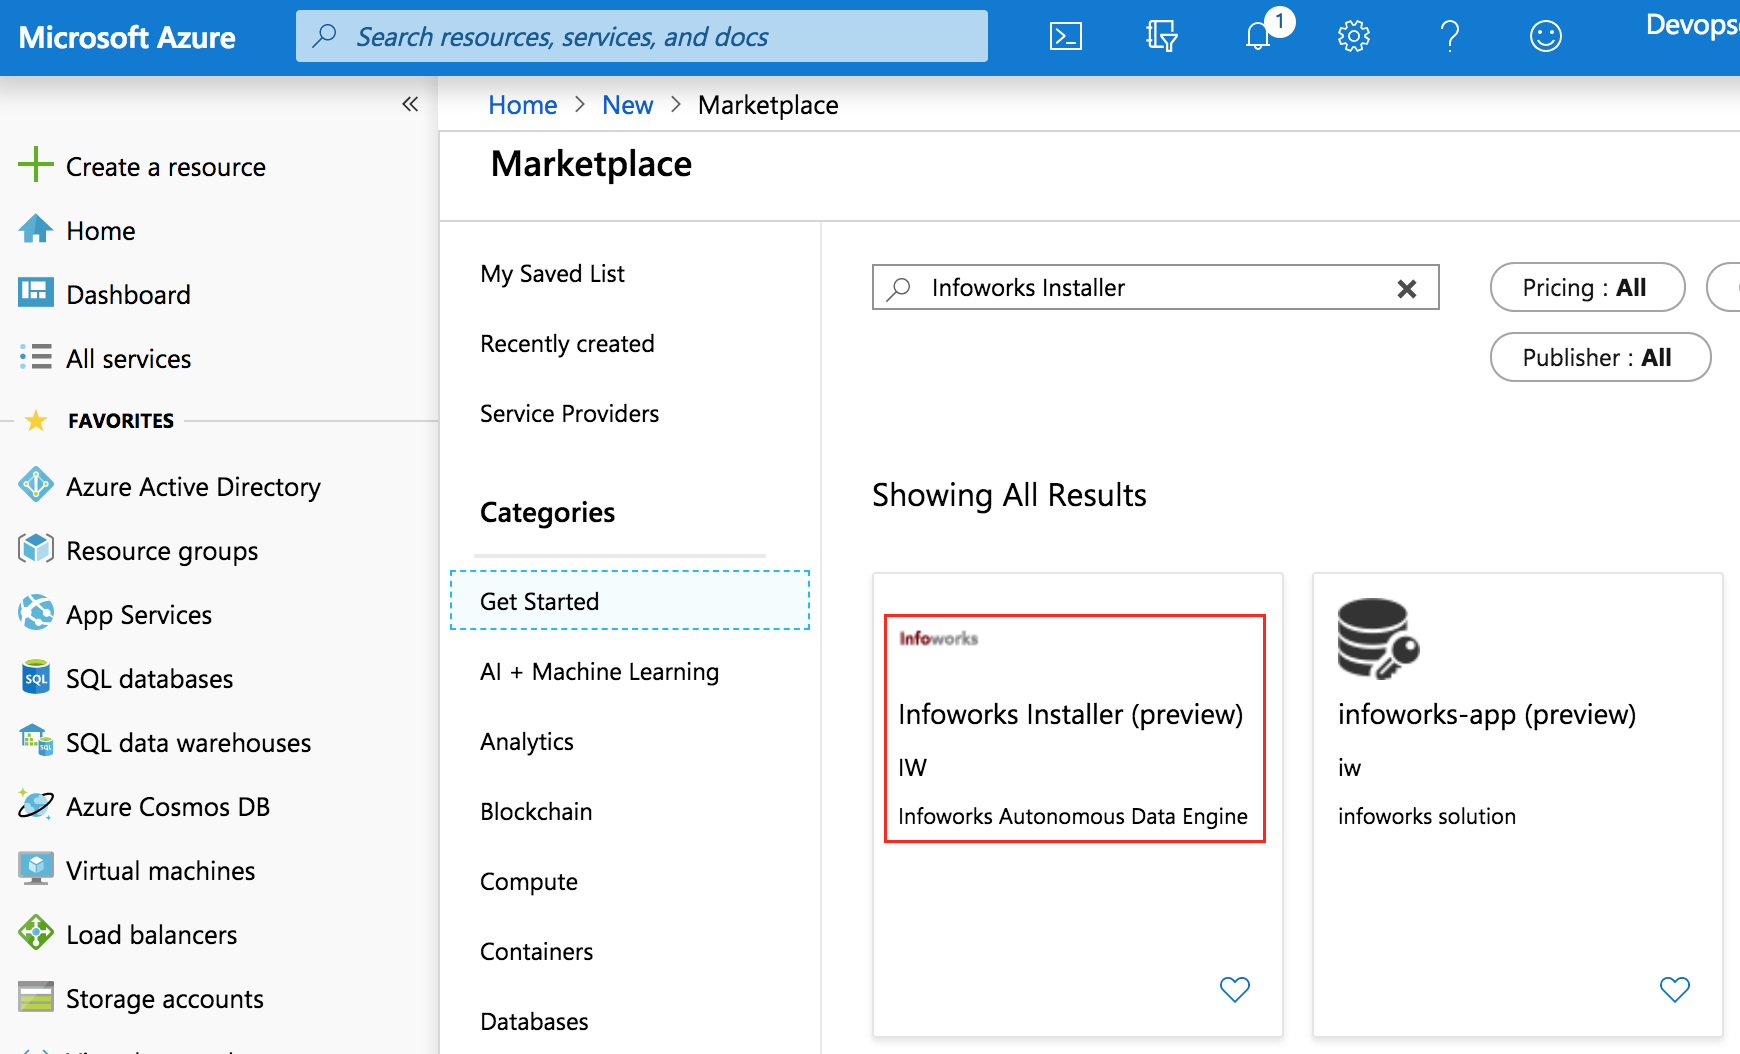
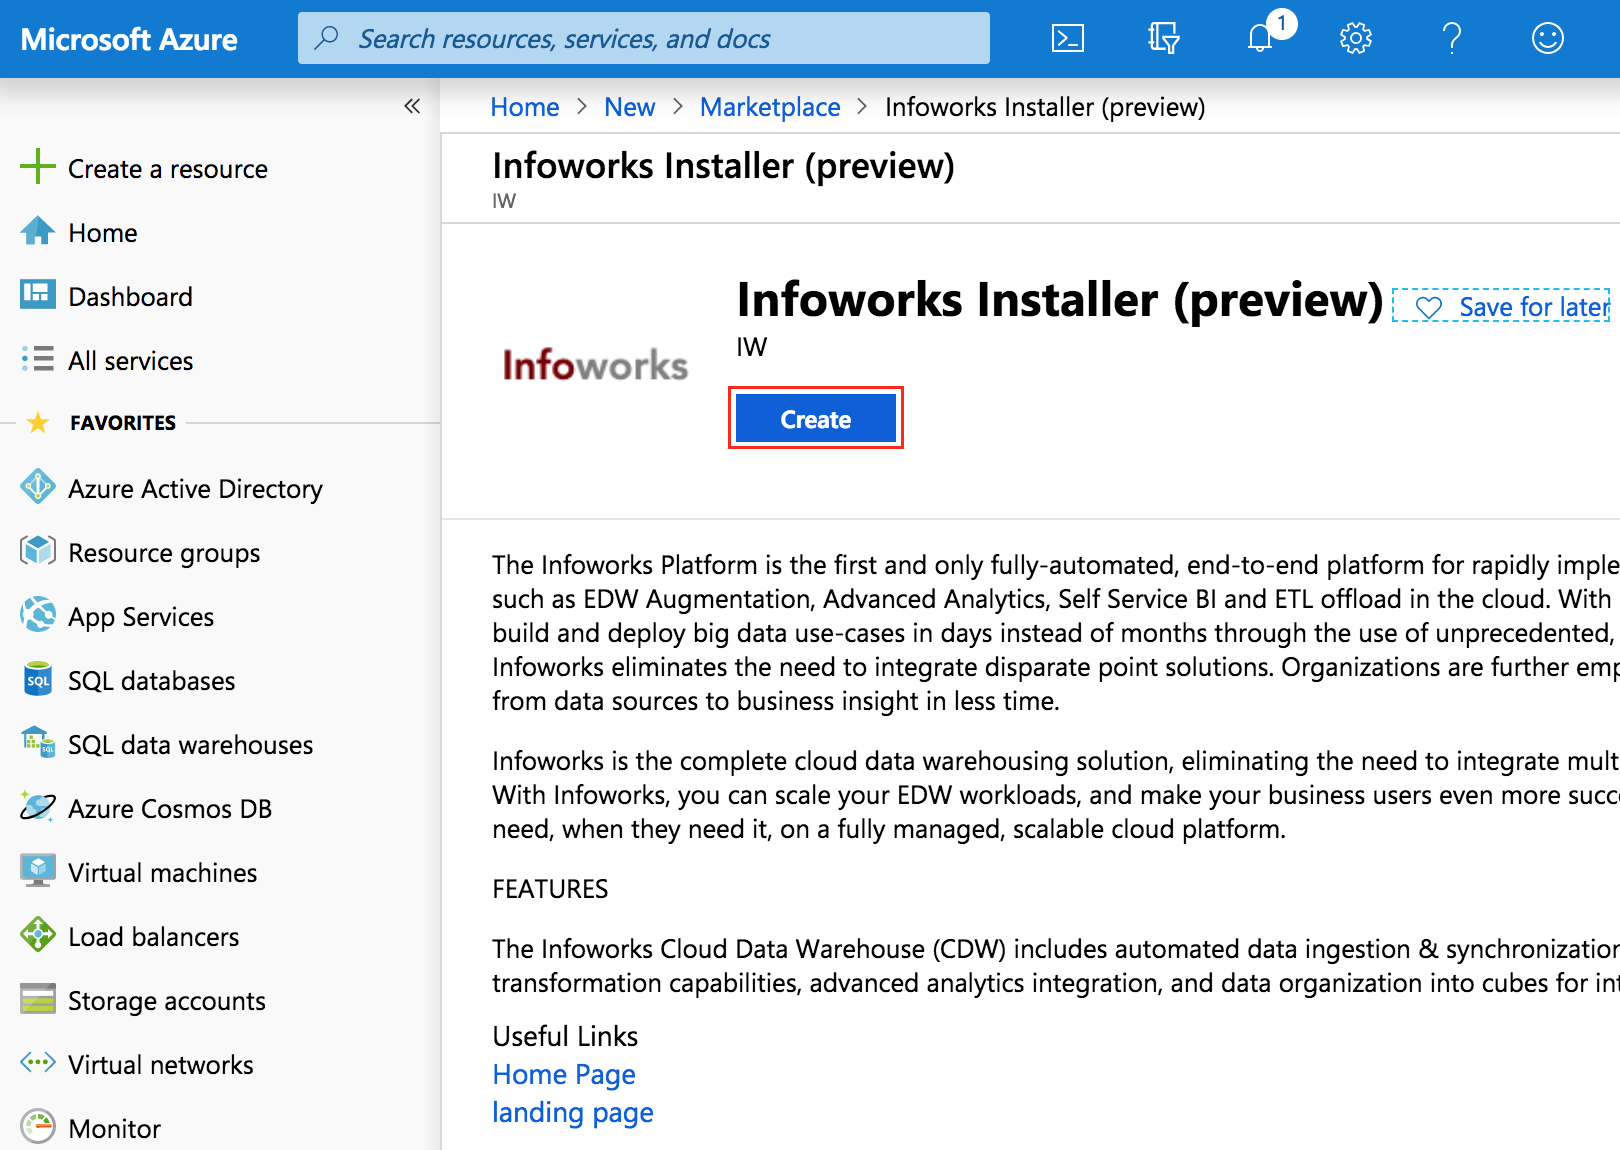
- Select the installer and click Create.
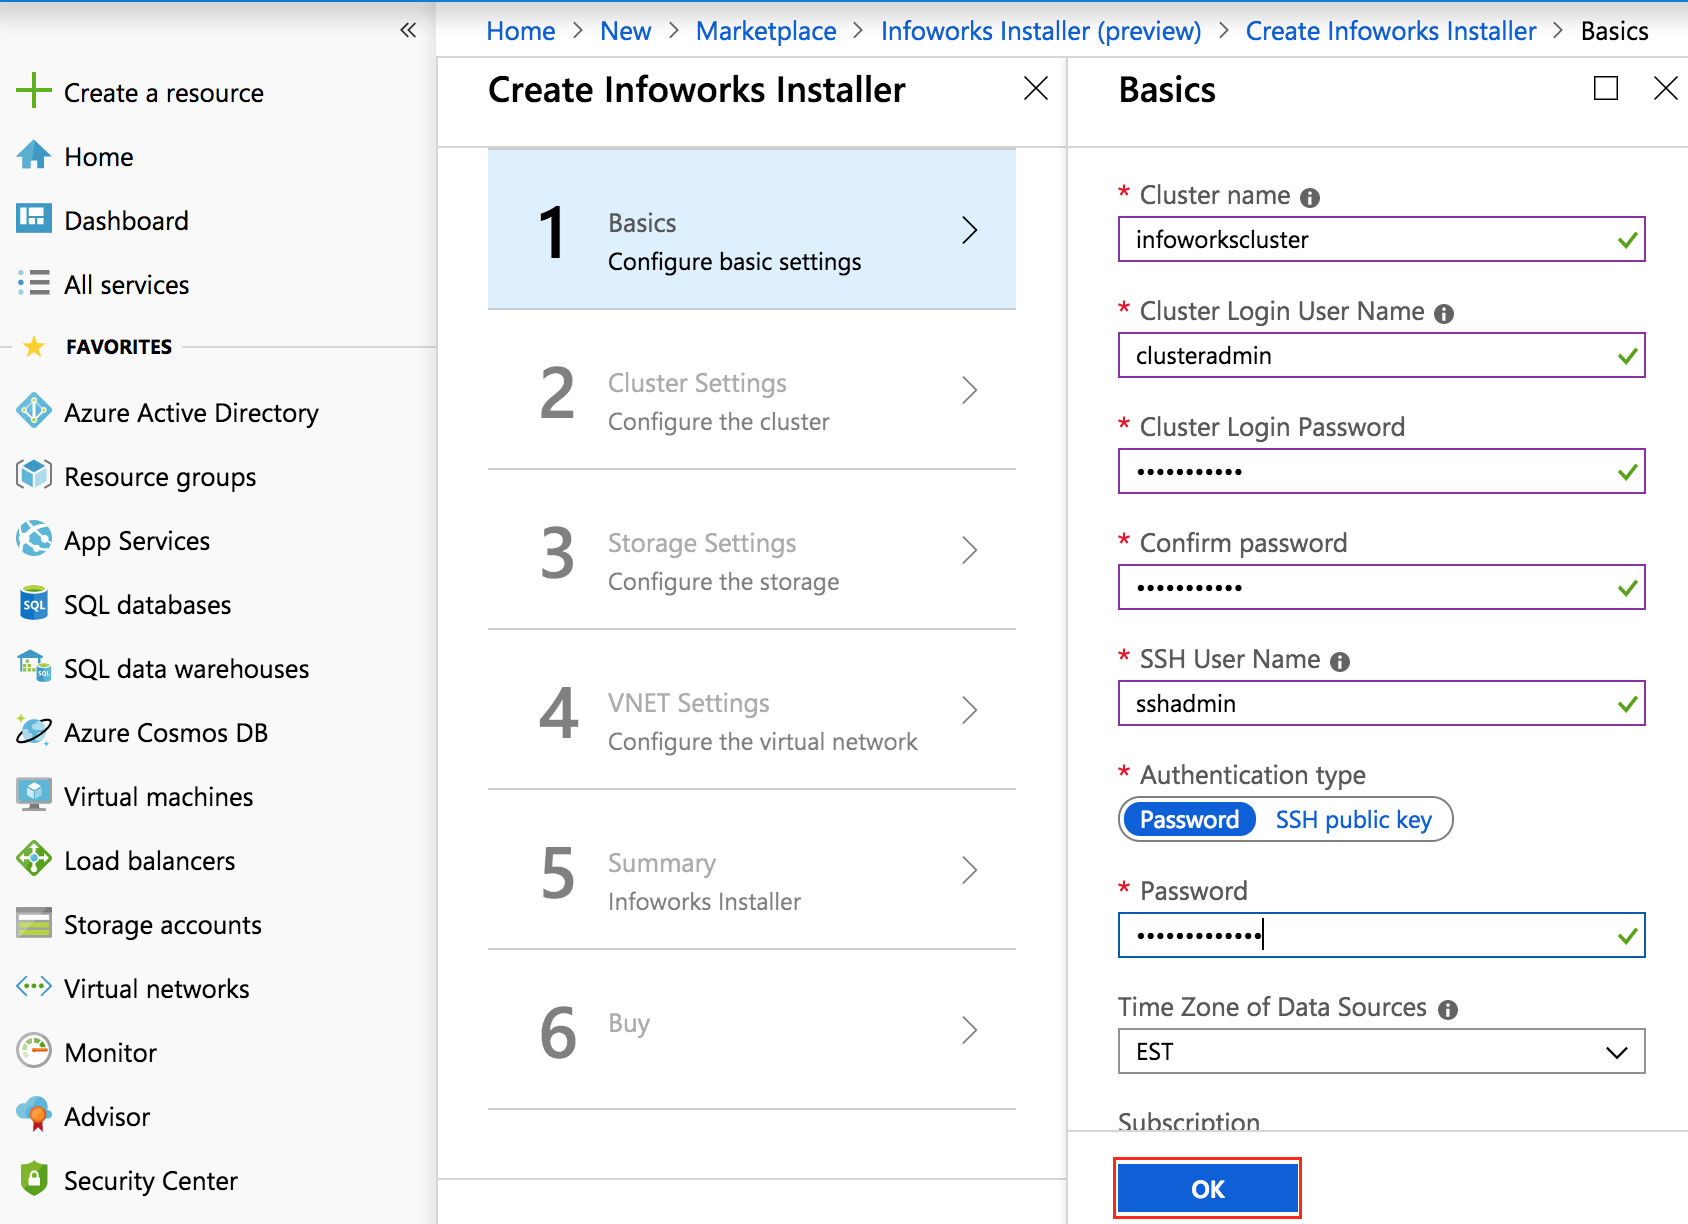
- Provide the inputs based on the requirement. A green tick mark is displayed when the validation is passed. You can provide any value in Timezone for Data Sources field. Click OK.
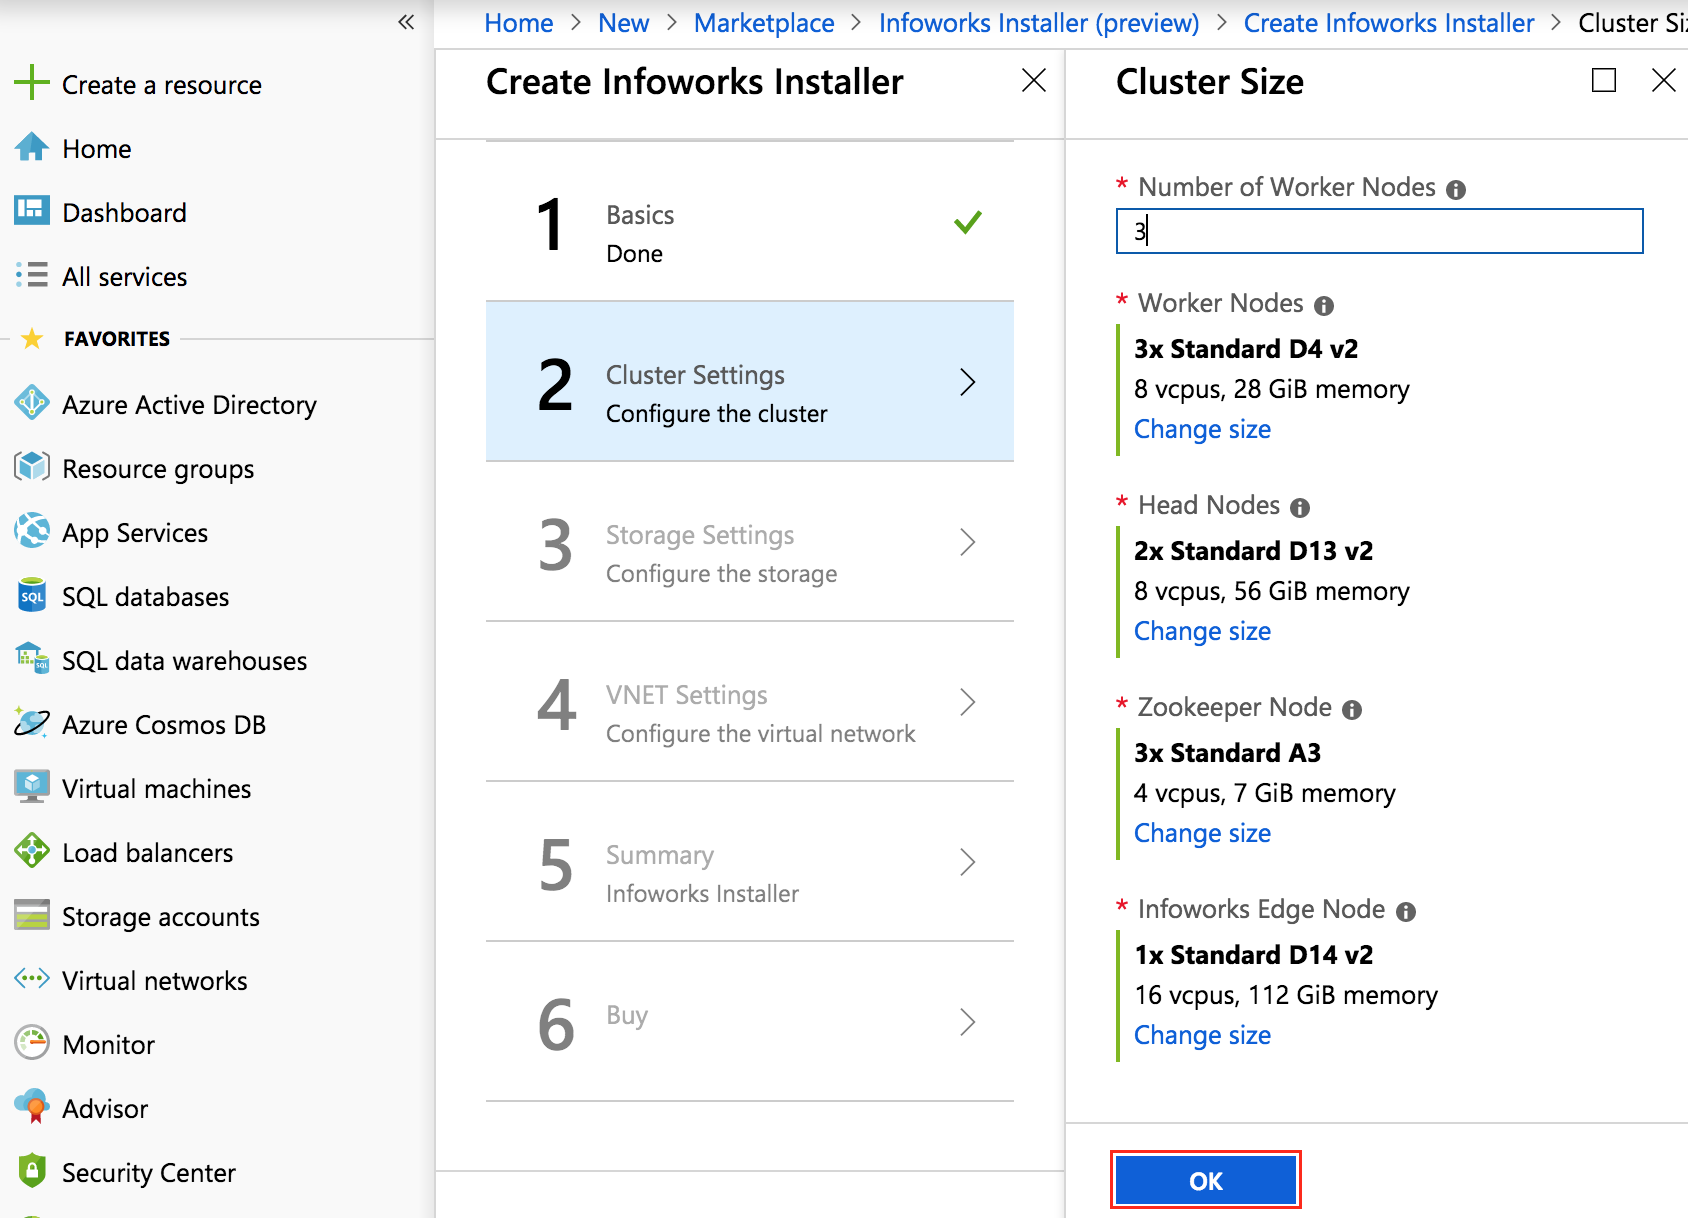
- Provide Number of Worker Nodes as an integer, select the machine types by clicking the respective nodes and click OK.
- Select Configure required settings, click Create new.
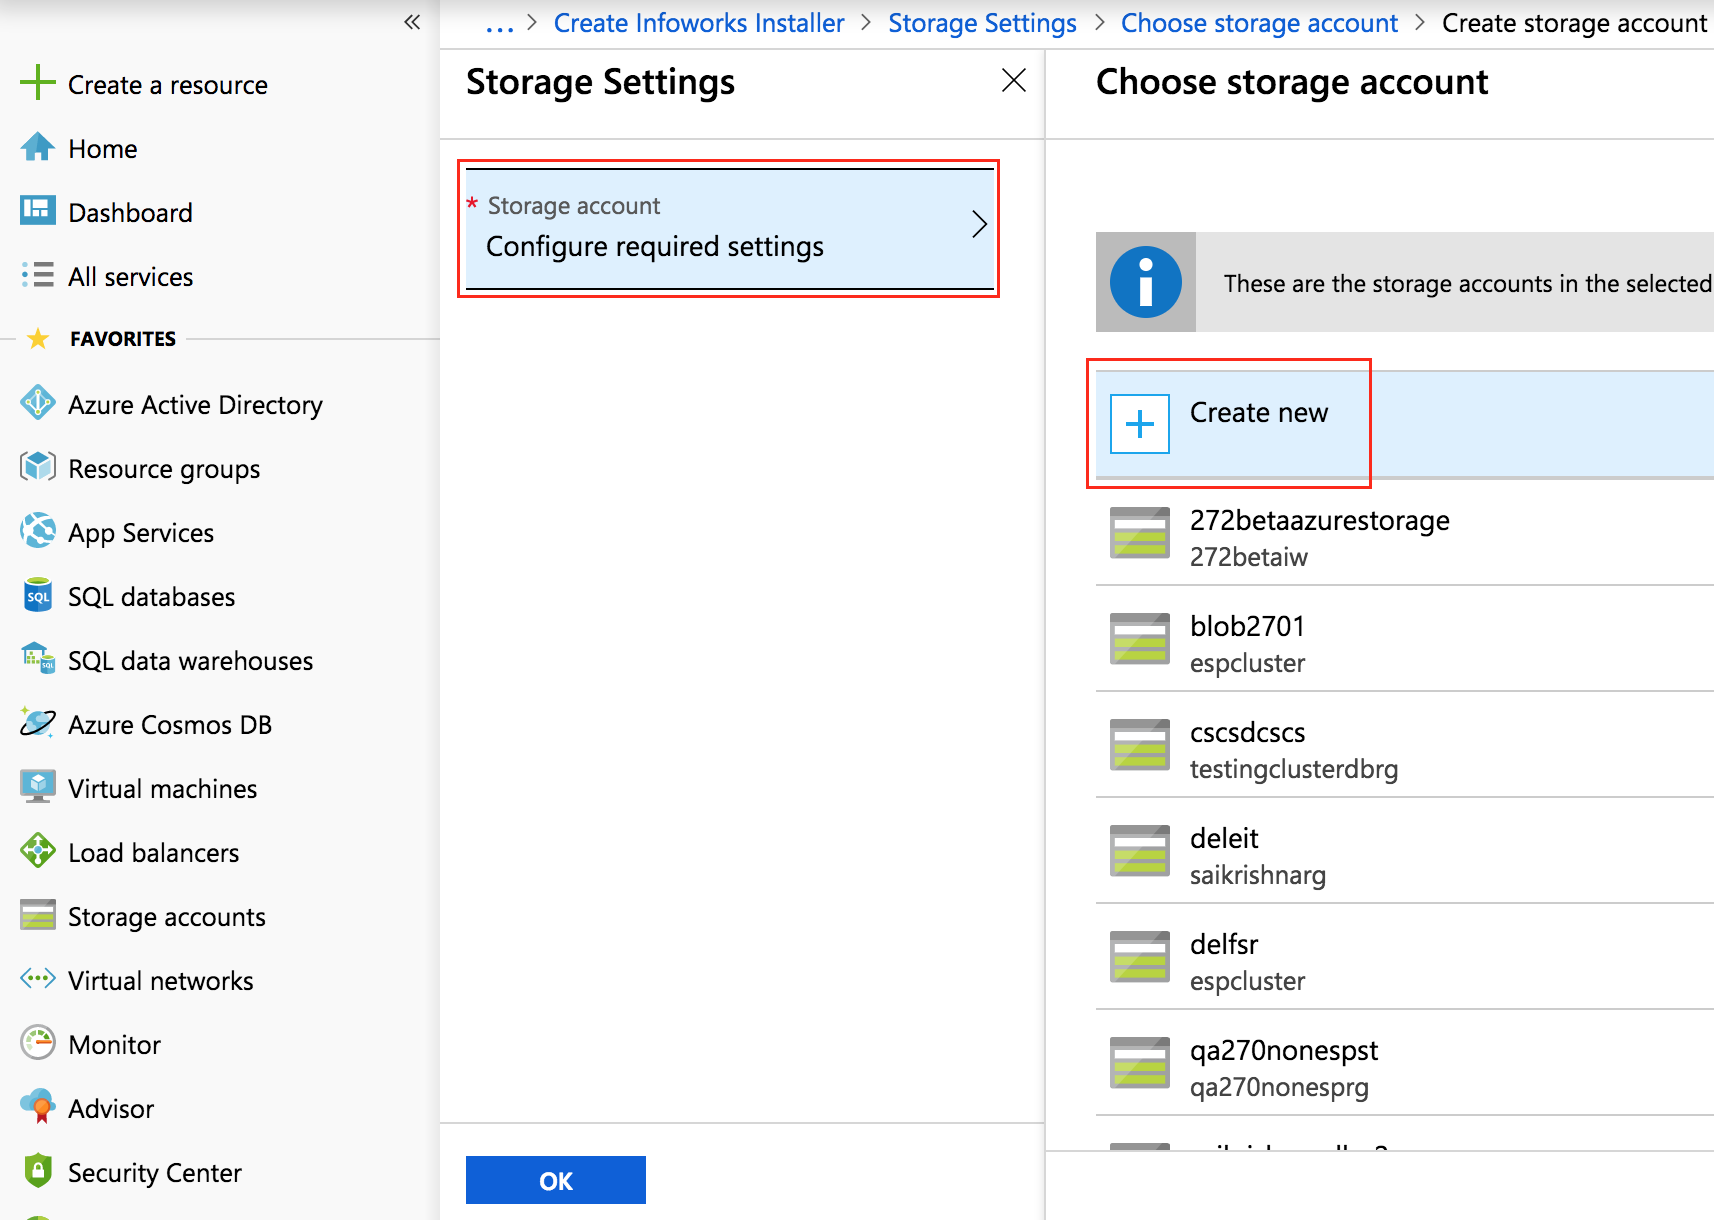
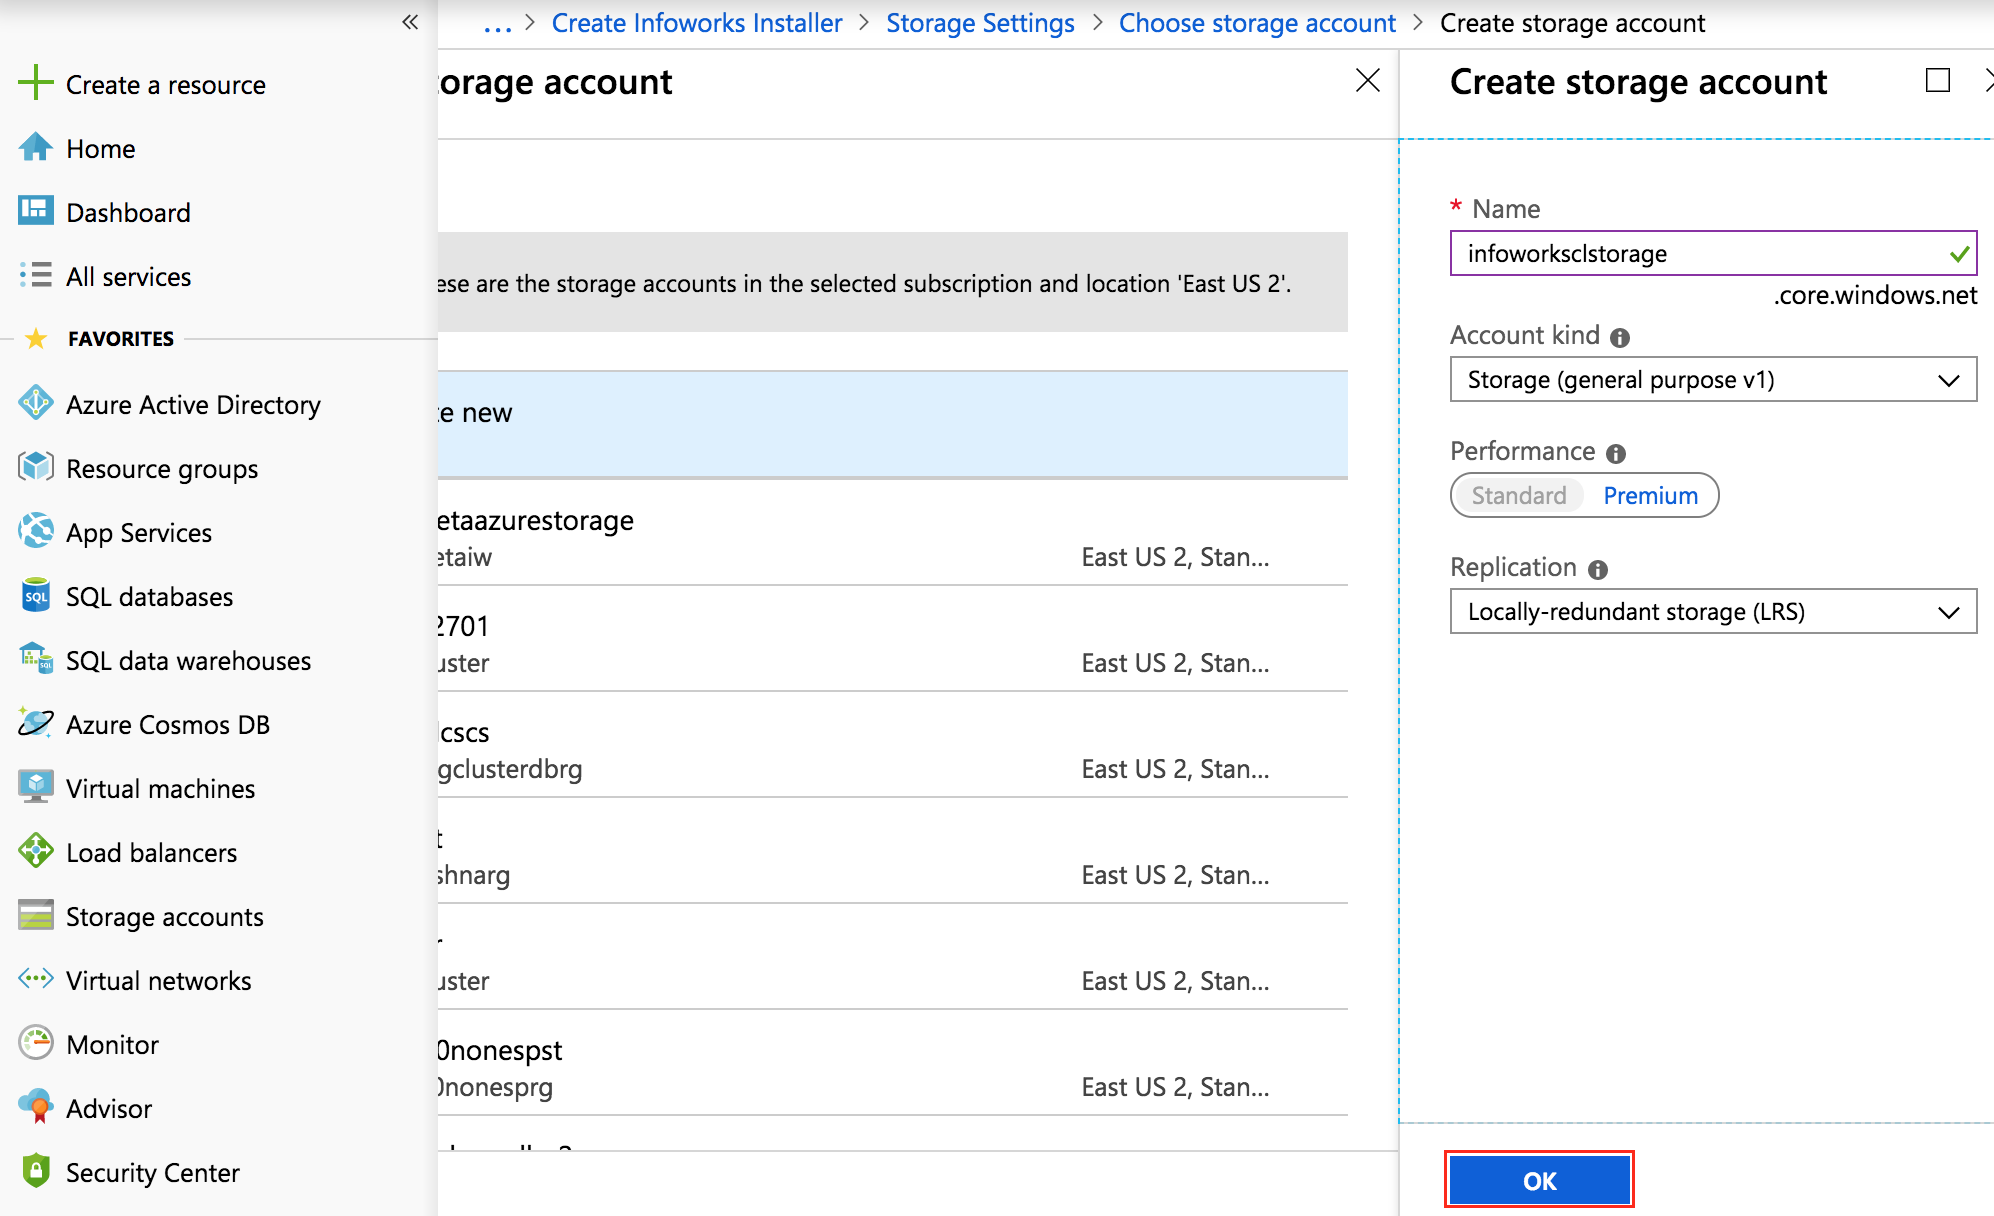
- Enter the storage account details and click OK. Creating a new storage account is recommended, but you can also select an existing storage account (in the same region of deployment).
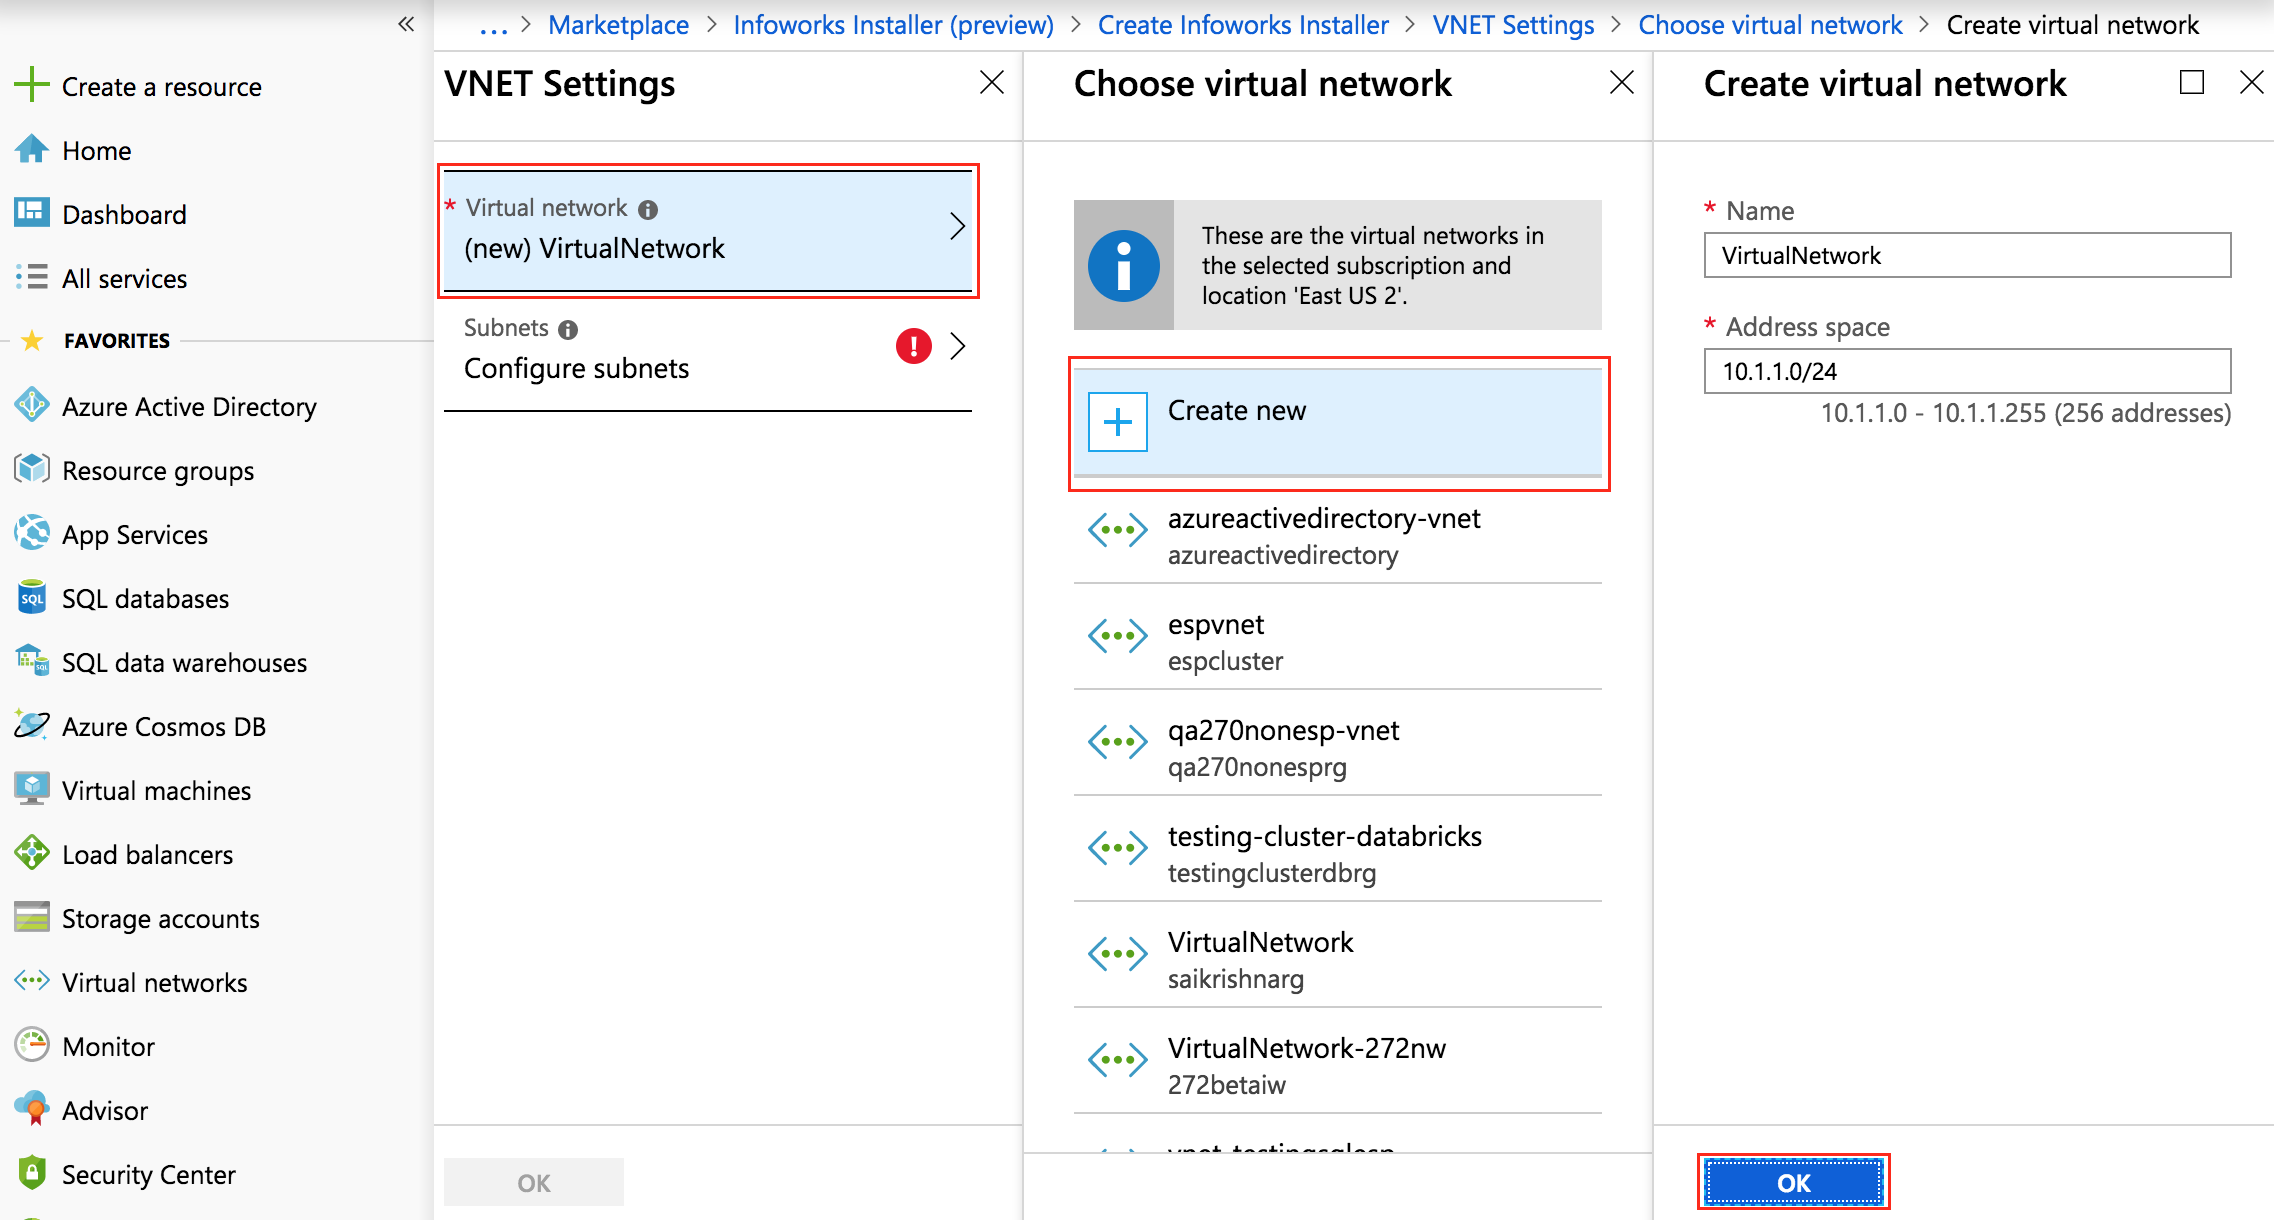
- Select VirtualNetwork, click C reate New, enter the virtual network details and Click OK. Here, a new Vnet is created with address space in CIDR (Classless Inter-Domain Routing) notation. The default values for CIDR are sufficient in many cases. To choose an existing Vnet (in the same region of deployment), select from the list below the Create new option.
- Click Configure Subnet configuration to configure new subnets, enter the subnet details and click OK. If an existing Vnet is used, the subnets will be displayed in the Subnets section and can be selected from the drop-down list.
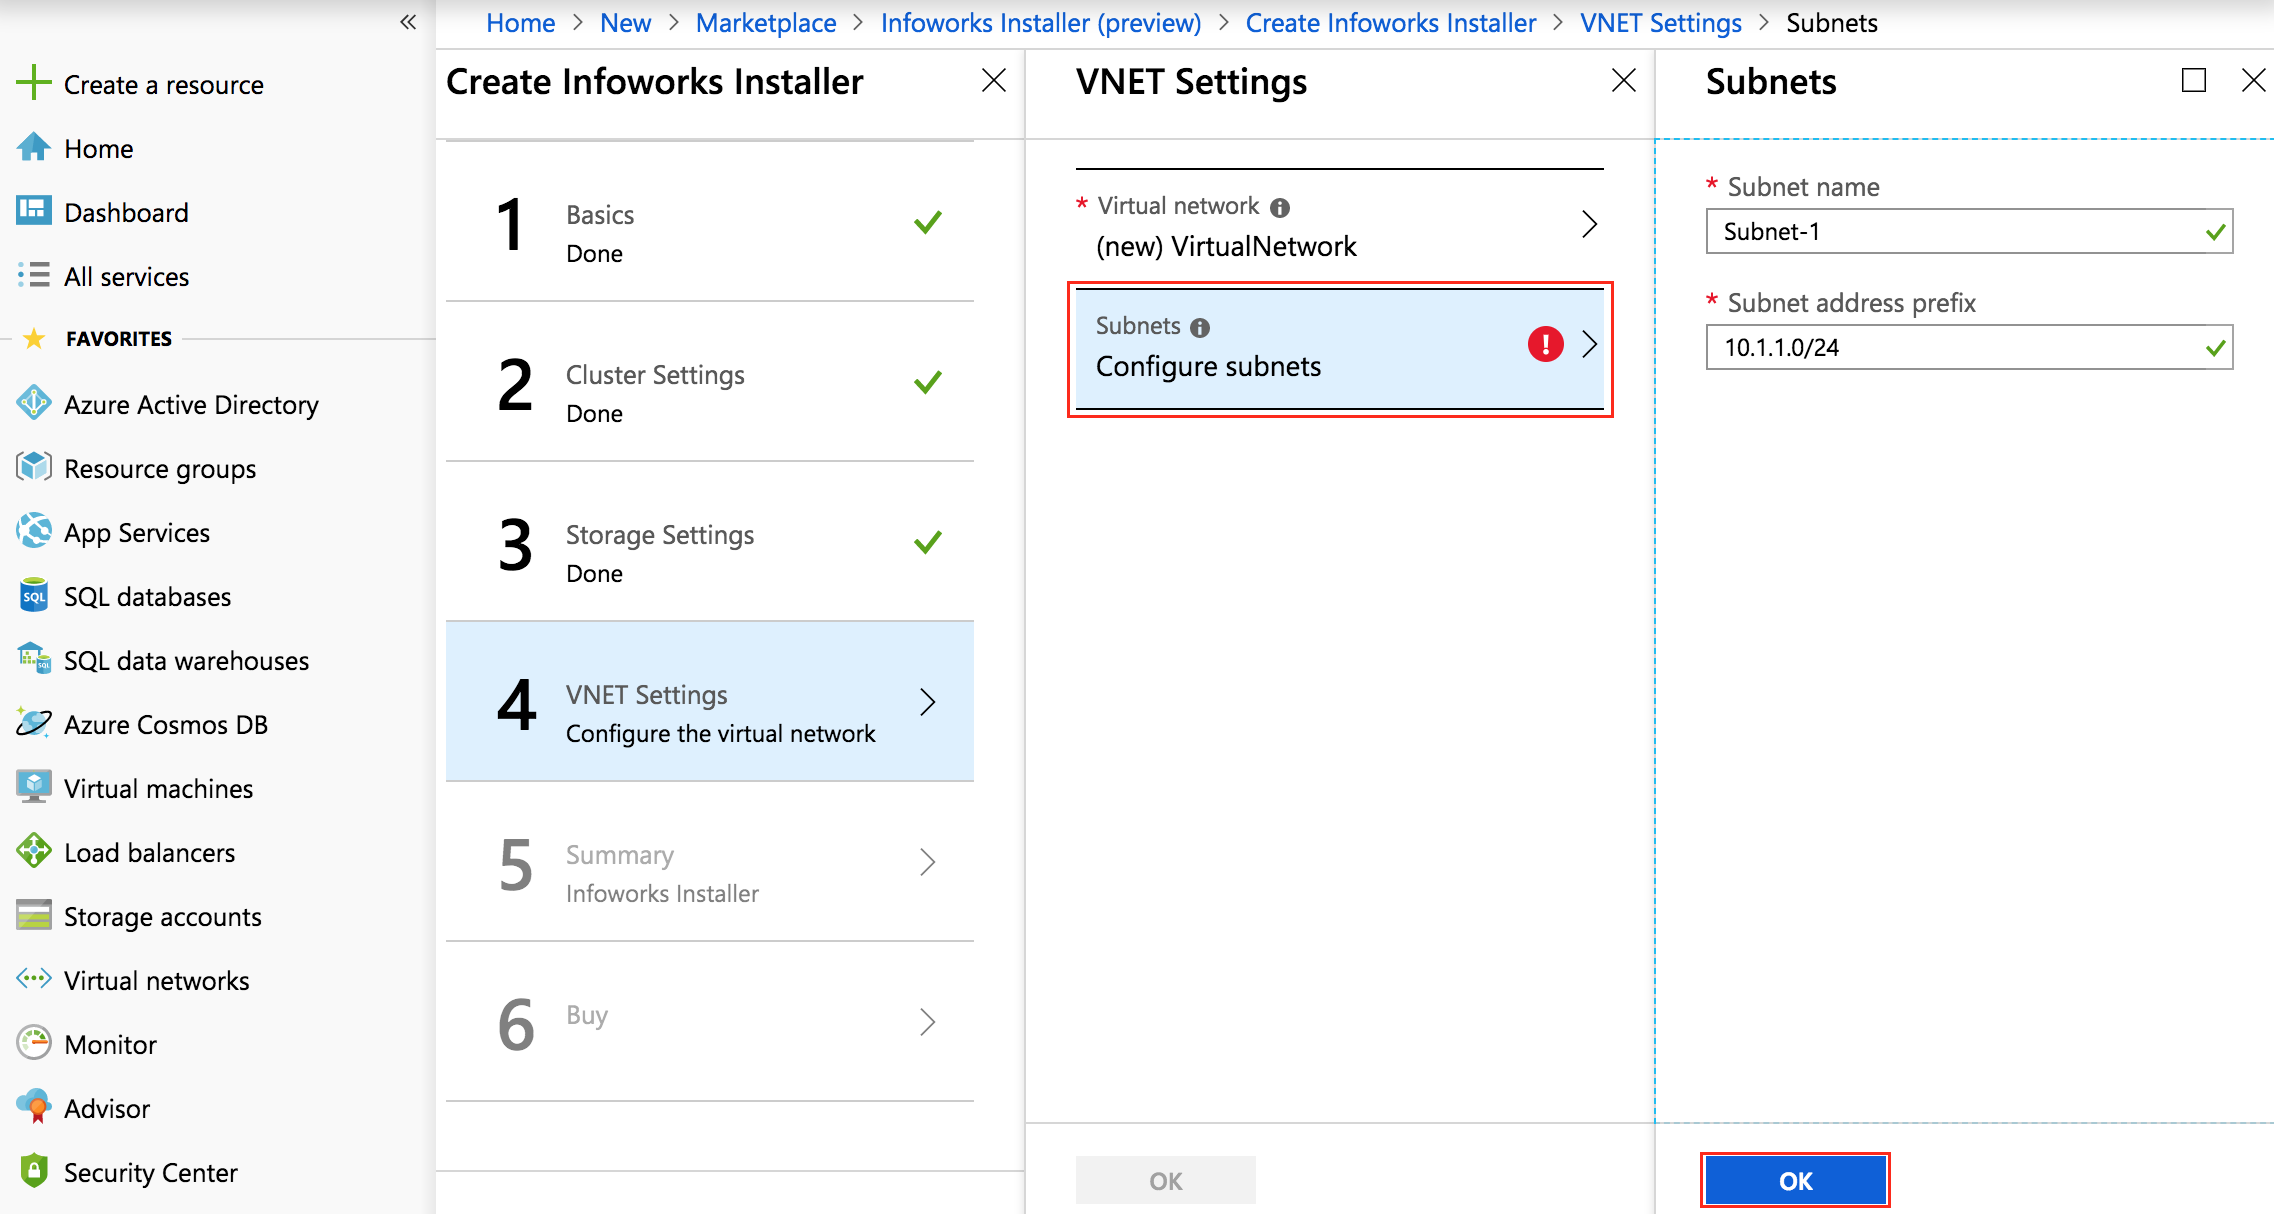
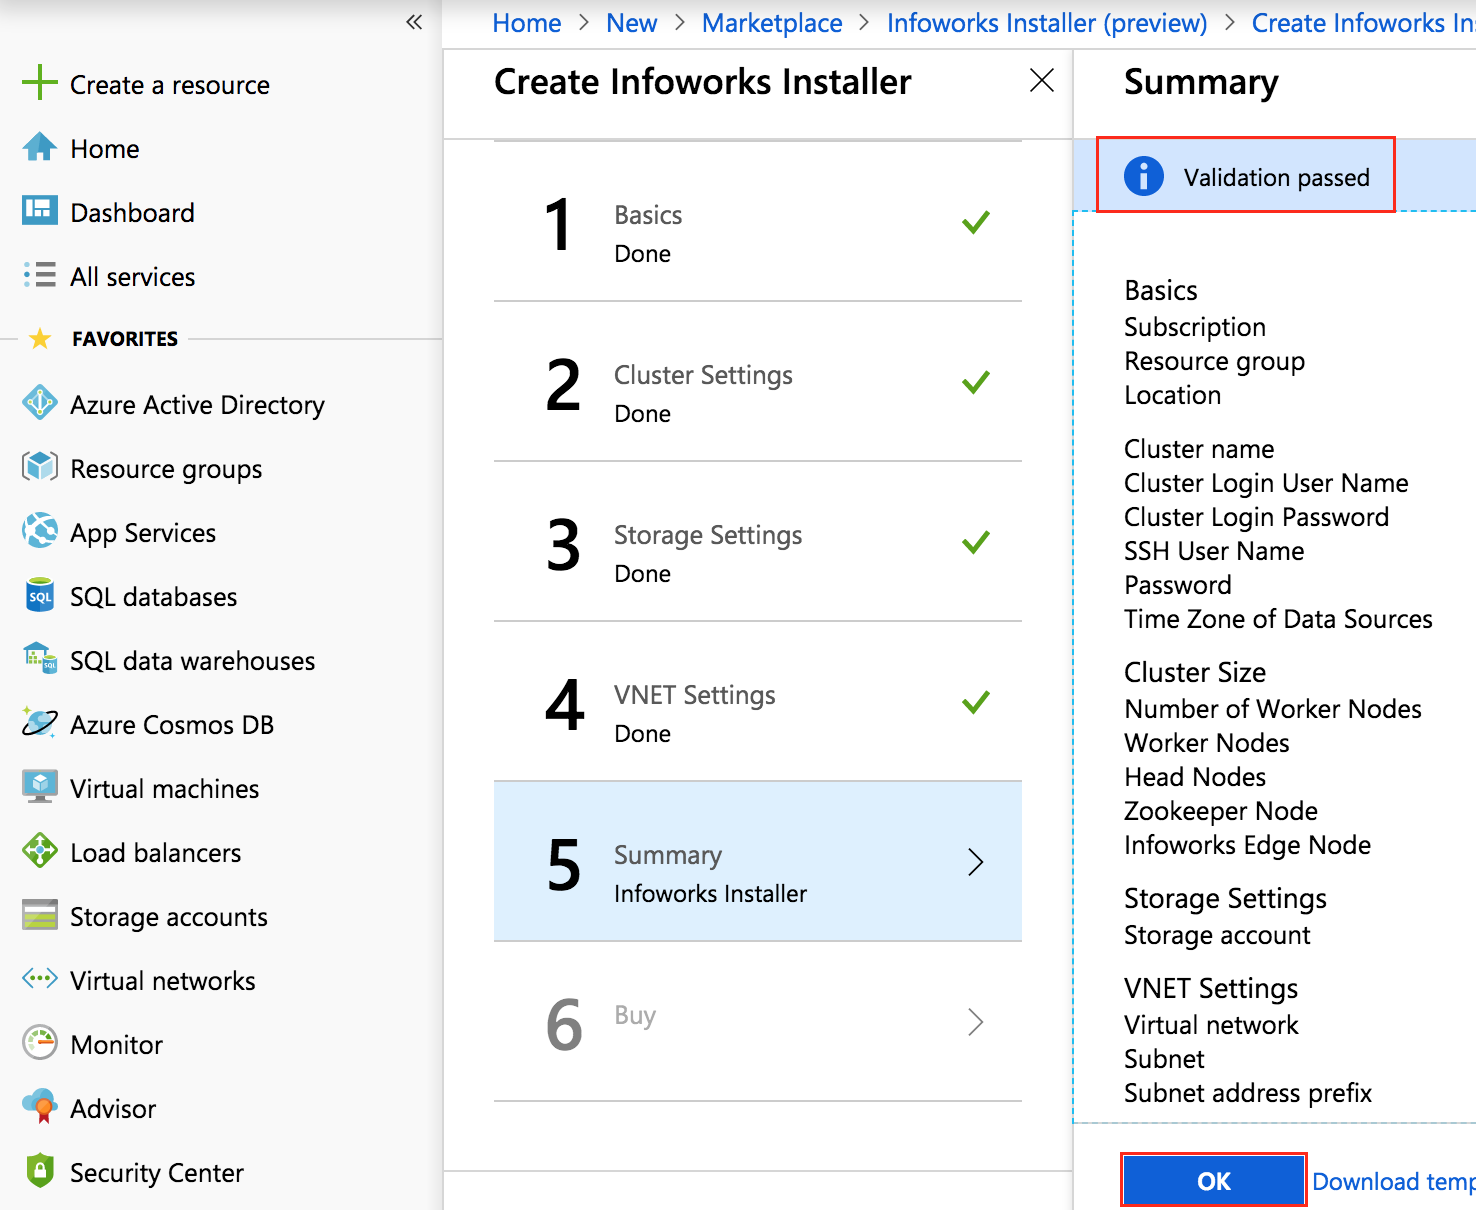
- Azure checks for final validation. Once the validation passes, click OK to create the resources.
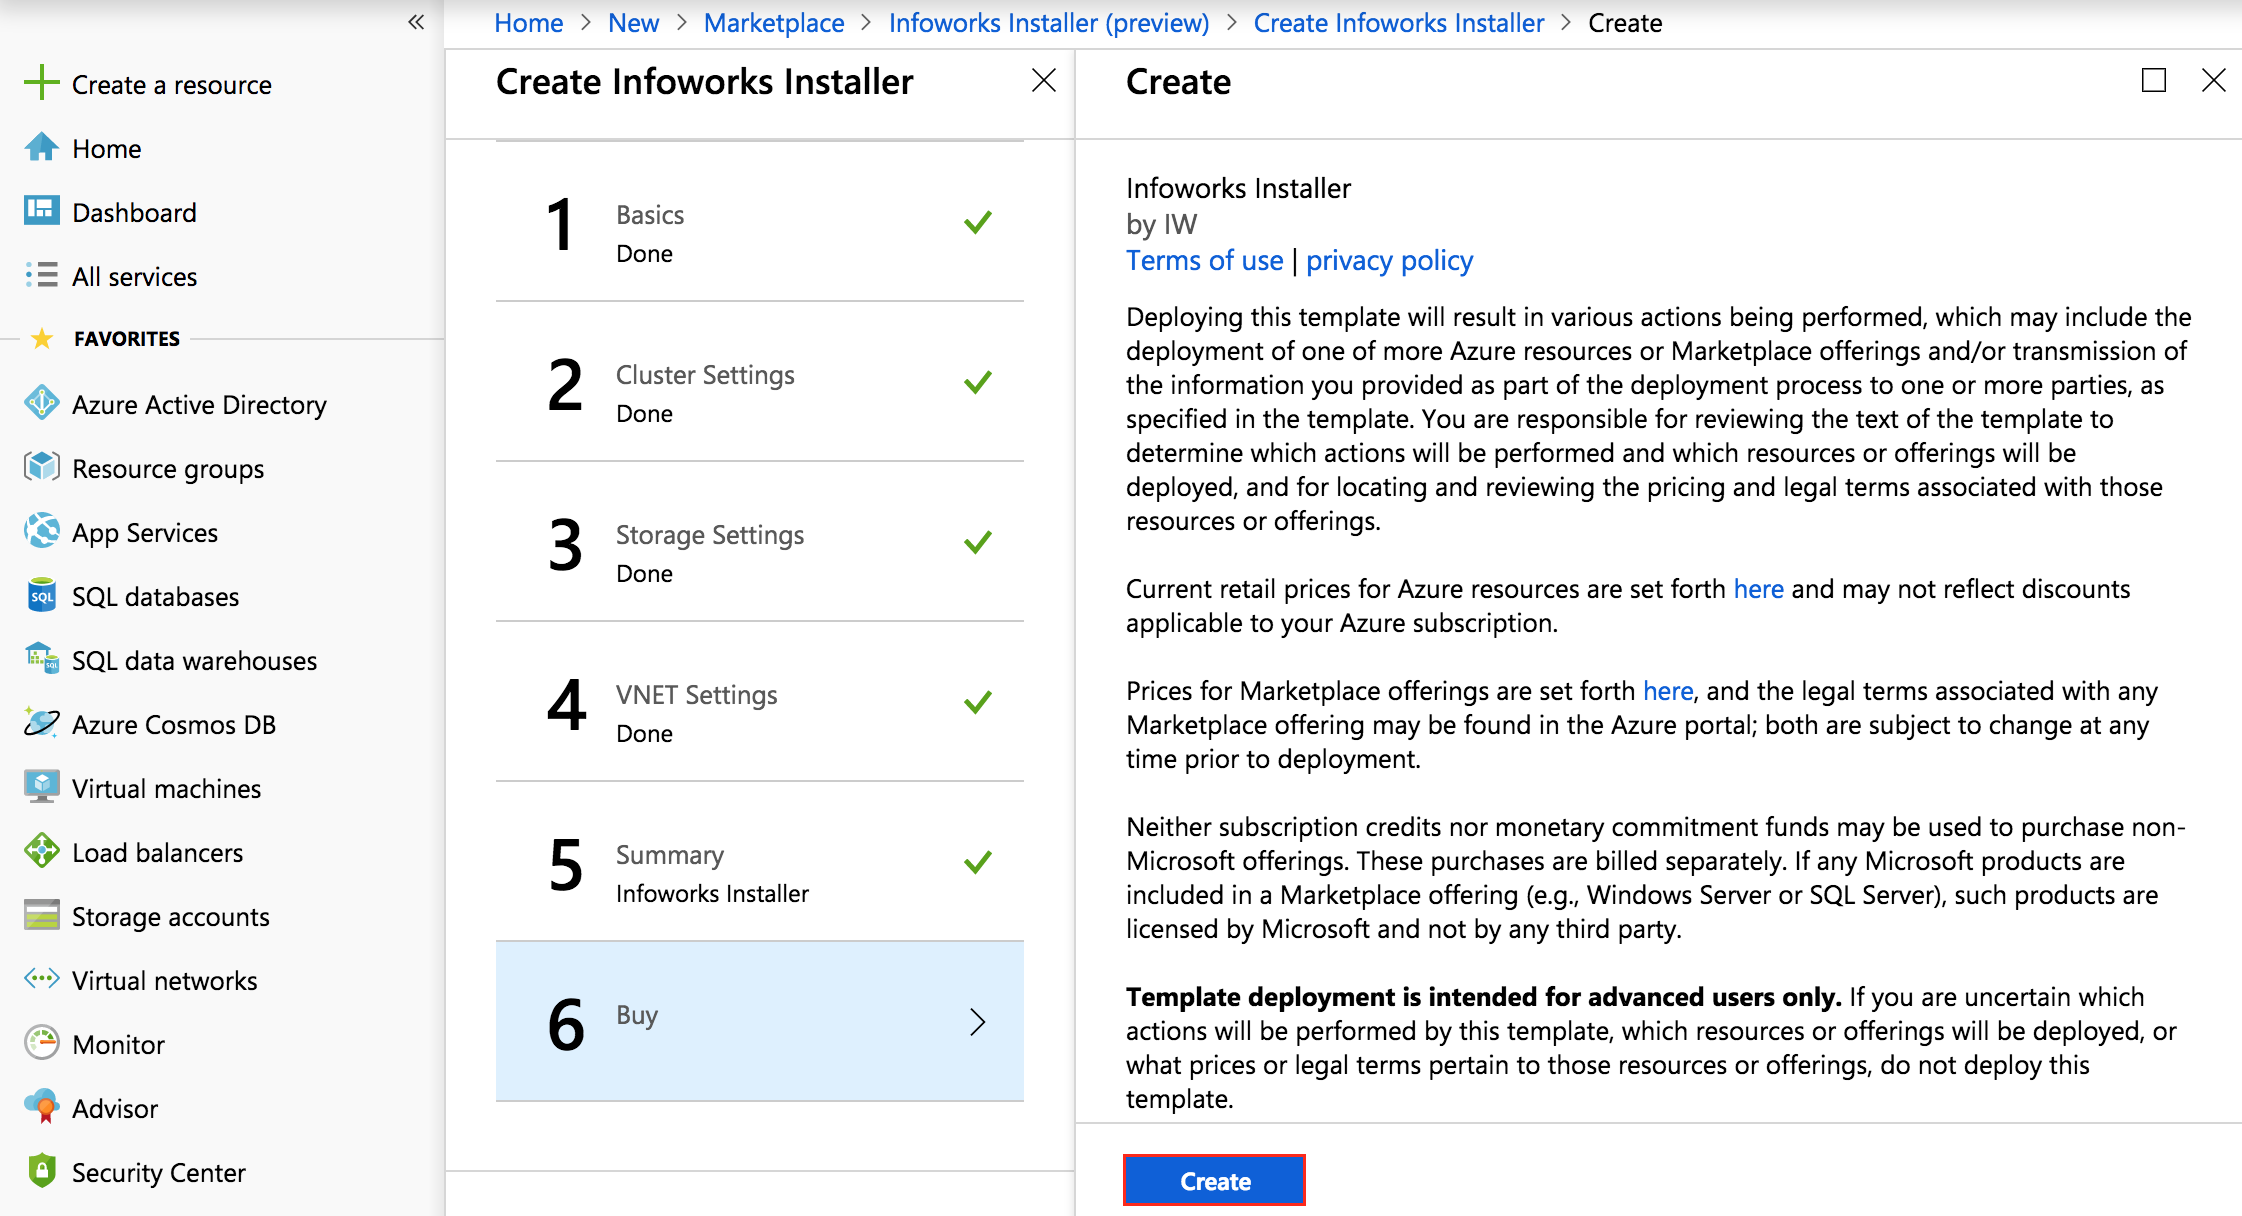
- Click Create to start the deployment.
Type to search, ESC to discard
Type to search, ESC to discard
Type to search, ESC to discard
Last updated on
Next to read:
HDI ESP with WASB (BLOB) StorageFor more details, refer to our Knowledge Base and Best Practices!
For help, contact our support team!
(C) 2015-2022 Infoworks.io, Inc. and Confidential
Discard Changes
Do you want to discard your current changes and overwrite with the template?
Archive Synced Block
Message
Create new Template
What is this template's title?
Delete Template
Message