Title
Create new category
Edit page index title
Edit category
Edit link
Domain Management
Domain management allows you to manage domain access control over specific sources/domains/pipeline extensions.
It includes the following operations:
- Creating domain
- Managing Artifacts
- Editing access control of domain
Creating Domain
Following are the steps to create domain:
- Login to the Infoworks DF.
- Click the Admin menu and click the Domain icon. The Manage Domains page is displayed.
- Click the New Domain button. The New Domain page is displayed.
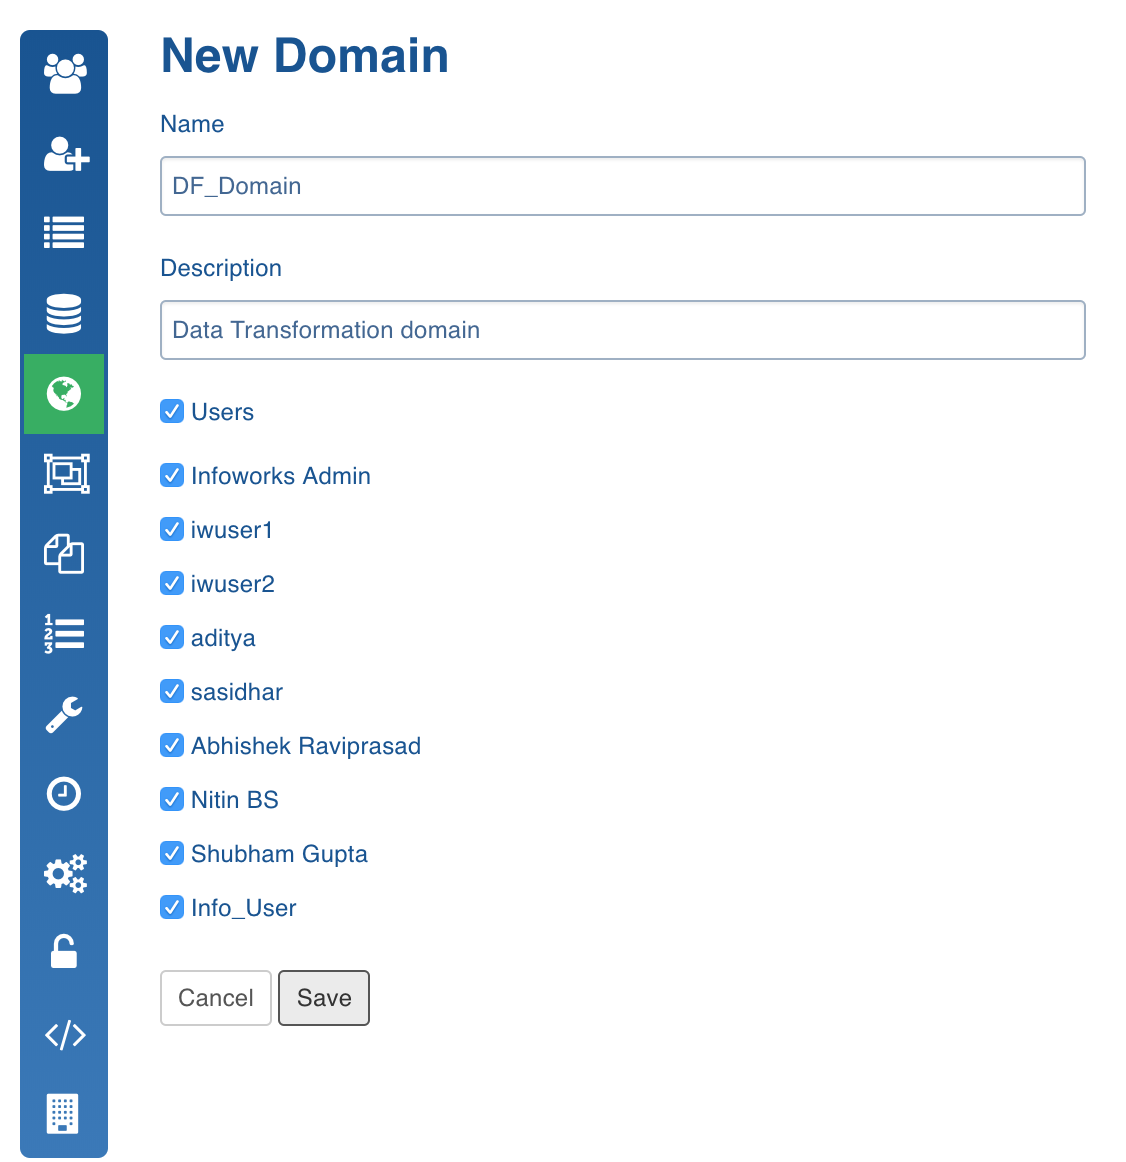
- Enter the name and description for the domain. Select the users who can access the domain and click Save.
Editing Domain
Following are the steps to edit domain:
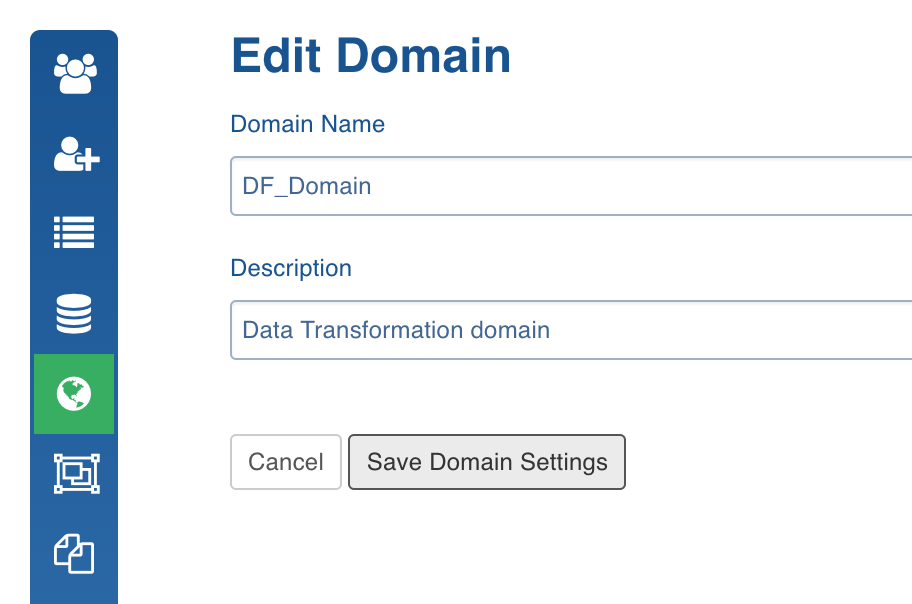
- In the Manage Domains page, click the Edit button for the domain to be edited. The Edit Domain page is displayed.
Managing Artifacts
You can also select the required domain artifacts to which a domain user can have access. Following are the steps to enable access to the artifacts:
- In the Manage Domains page, click the Manage Artifacts button for the required domain.
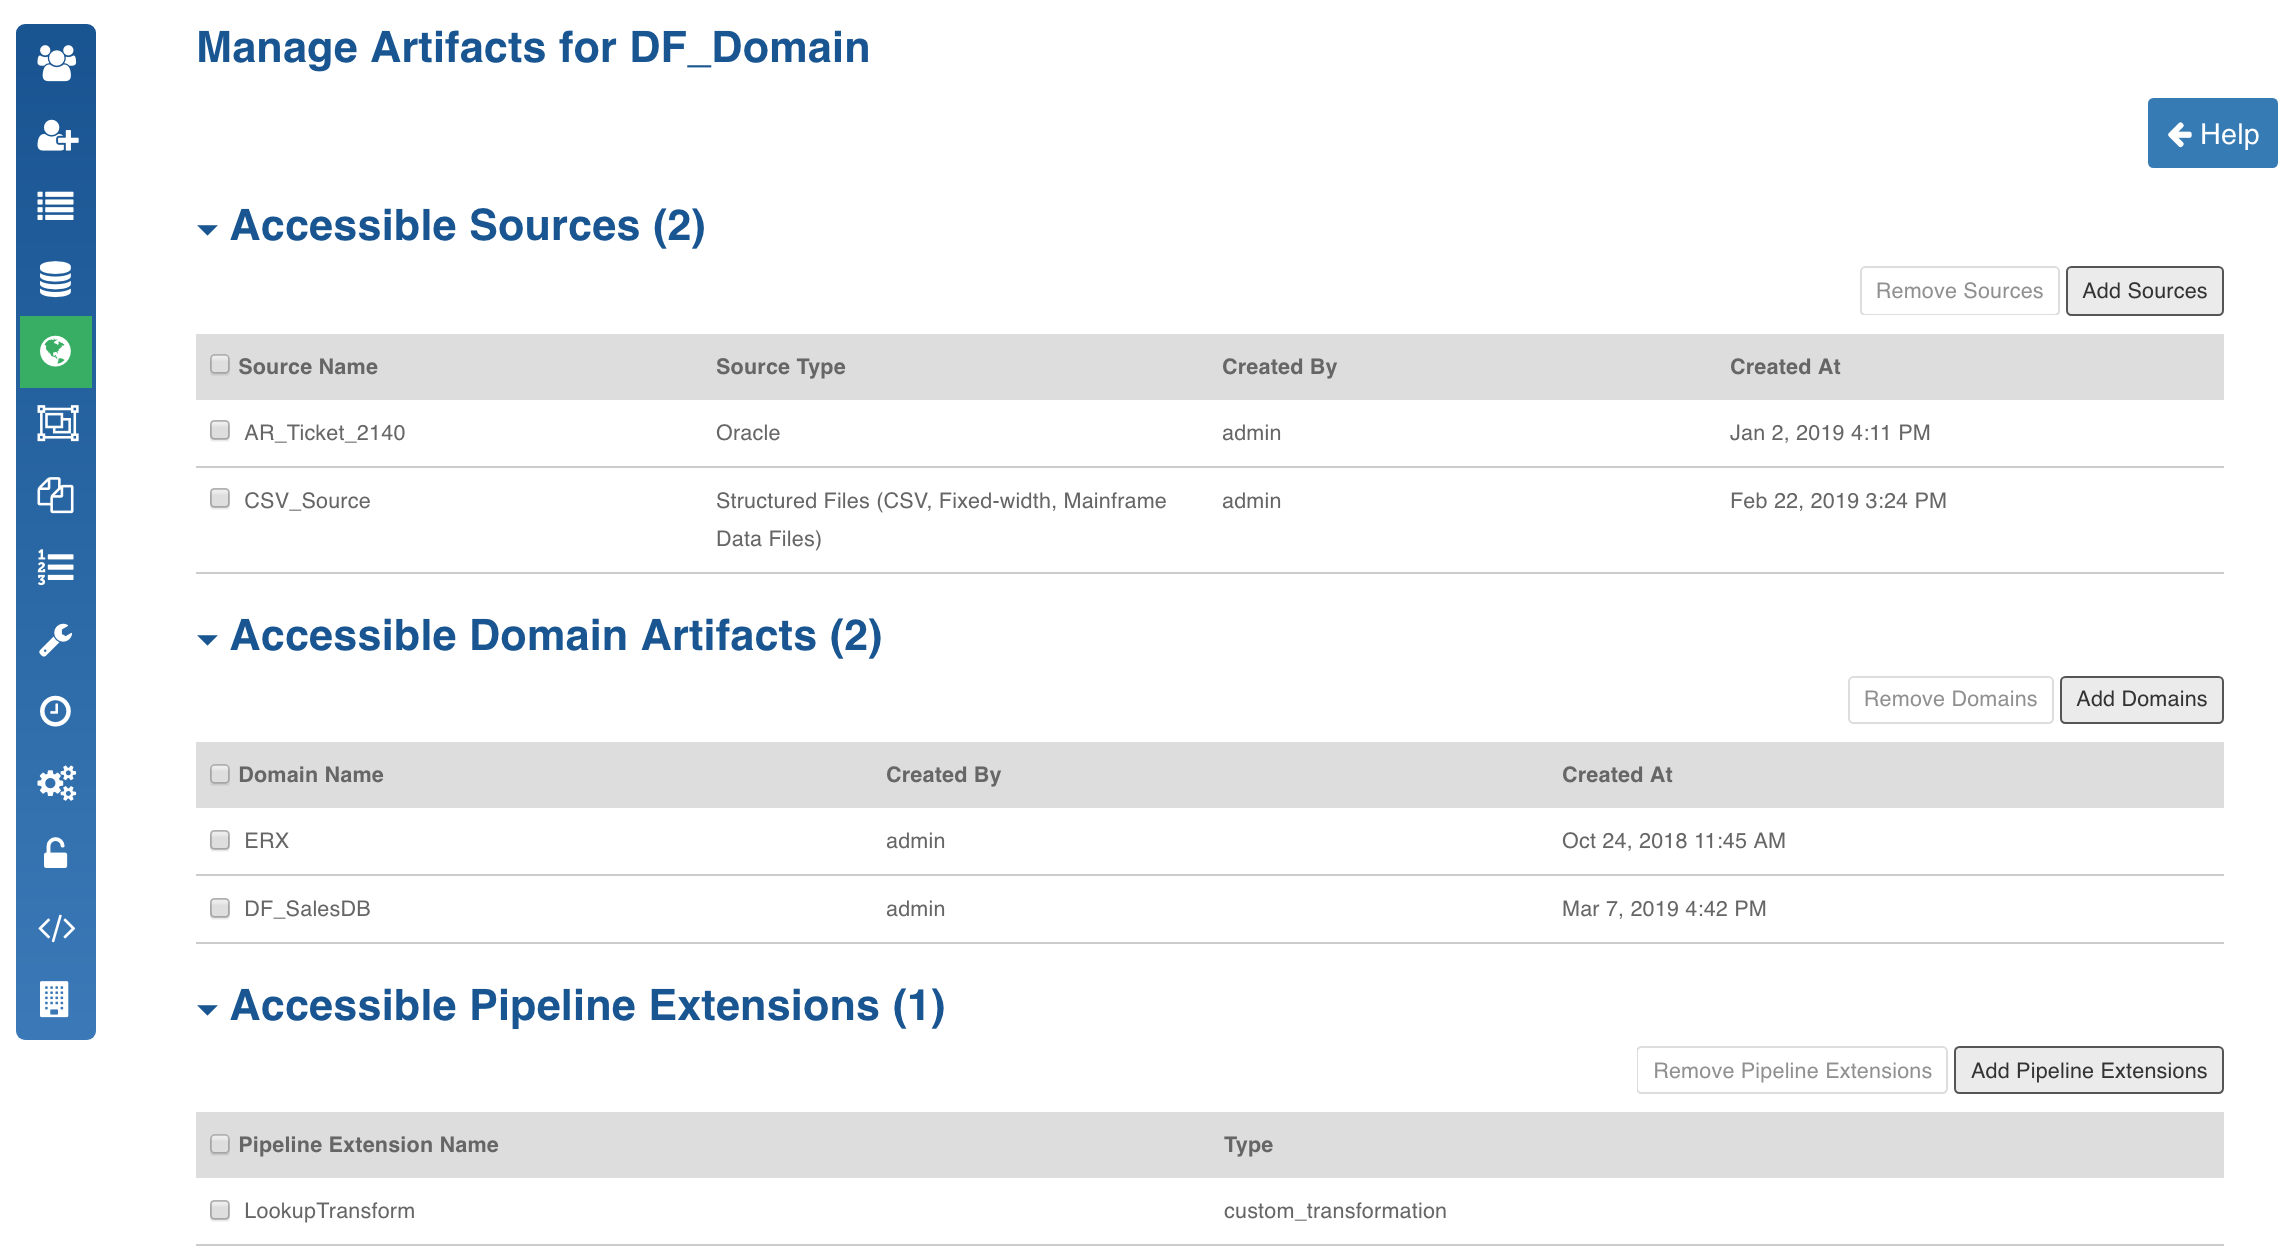
- Click the Add Sources, Add Domains or Add Pipeline Extensions button to add sources, domain artifacts and pipeline extensions respectively to be accessed by the domain.
You can also remove the sources, domain artifacts and pipeline extensions accessible by the domain.
Managing Sources
Source management includes the following:
- Adding a source
- Editing/Deleting a source
Adding a Source
Following are the steps to add a source:
- Click the Admin menu and click the Source icon.
- In the Manage Sources page, click New Source.
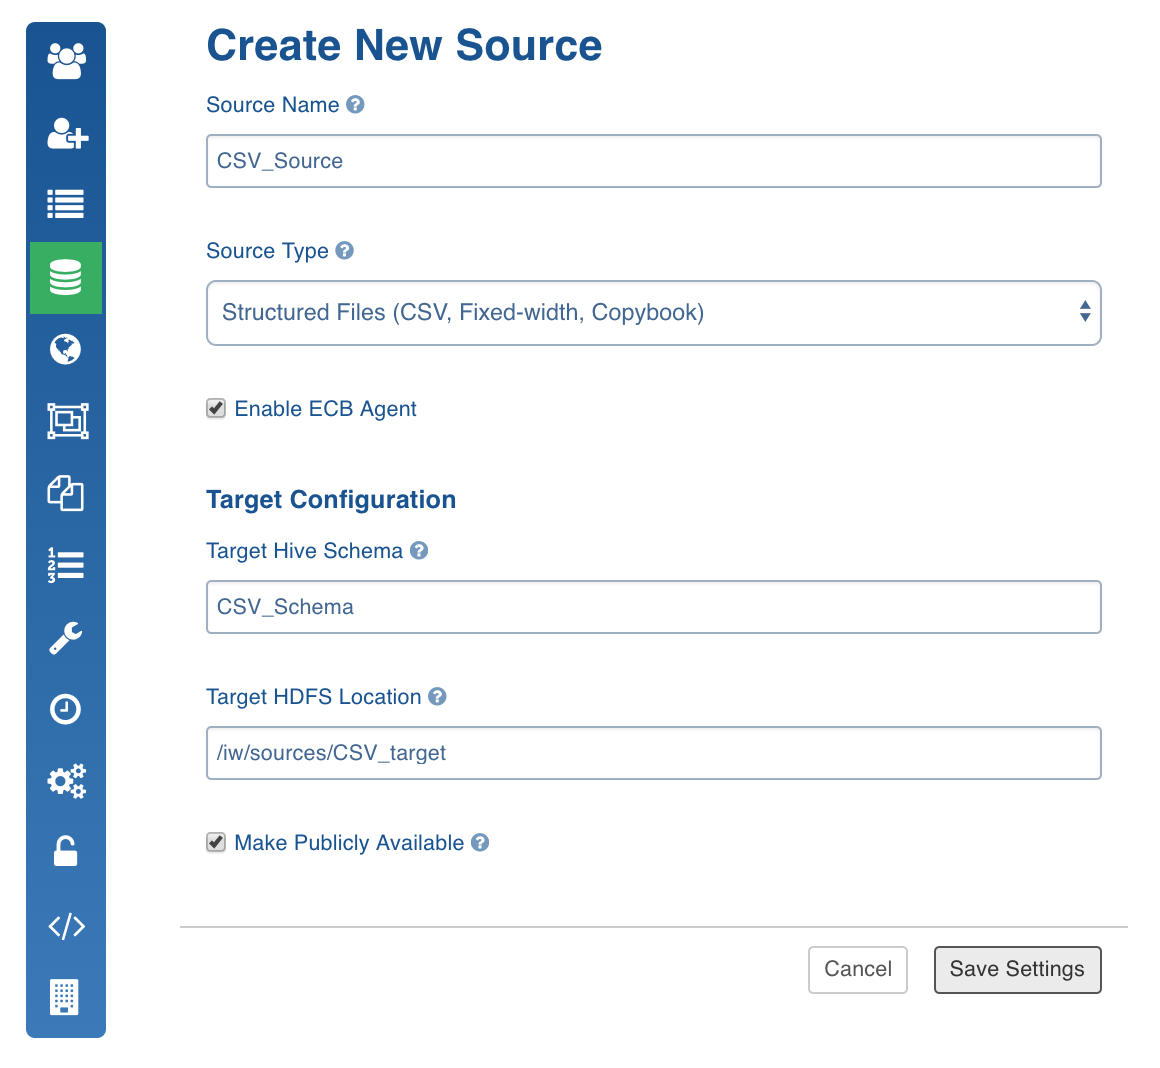
- In the Create New Source page, enter the values and click Save Settings.
NOTE: You can check Make Publicly Available if you want the source to be viewed by everyone having access to Infoworks DWA.
If you uncheck Make Publicly Available, the source will be accessible only to users who have access to the Domains having this source.
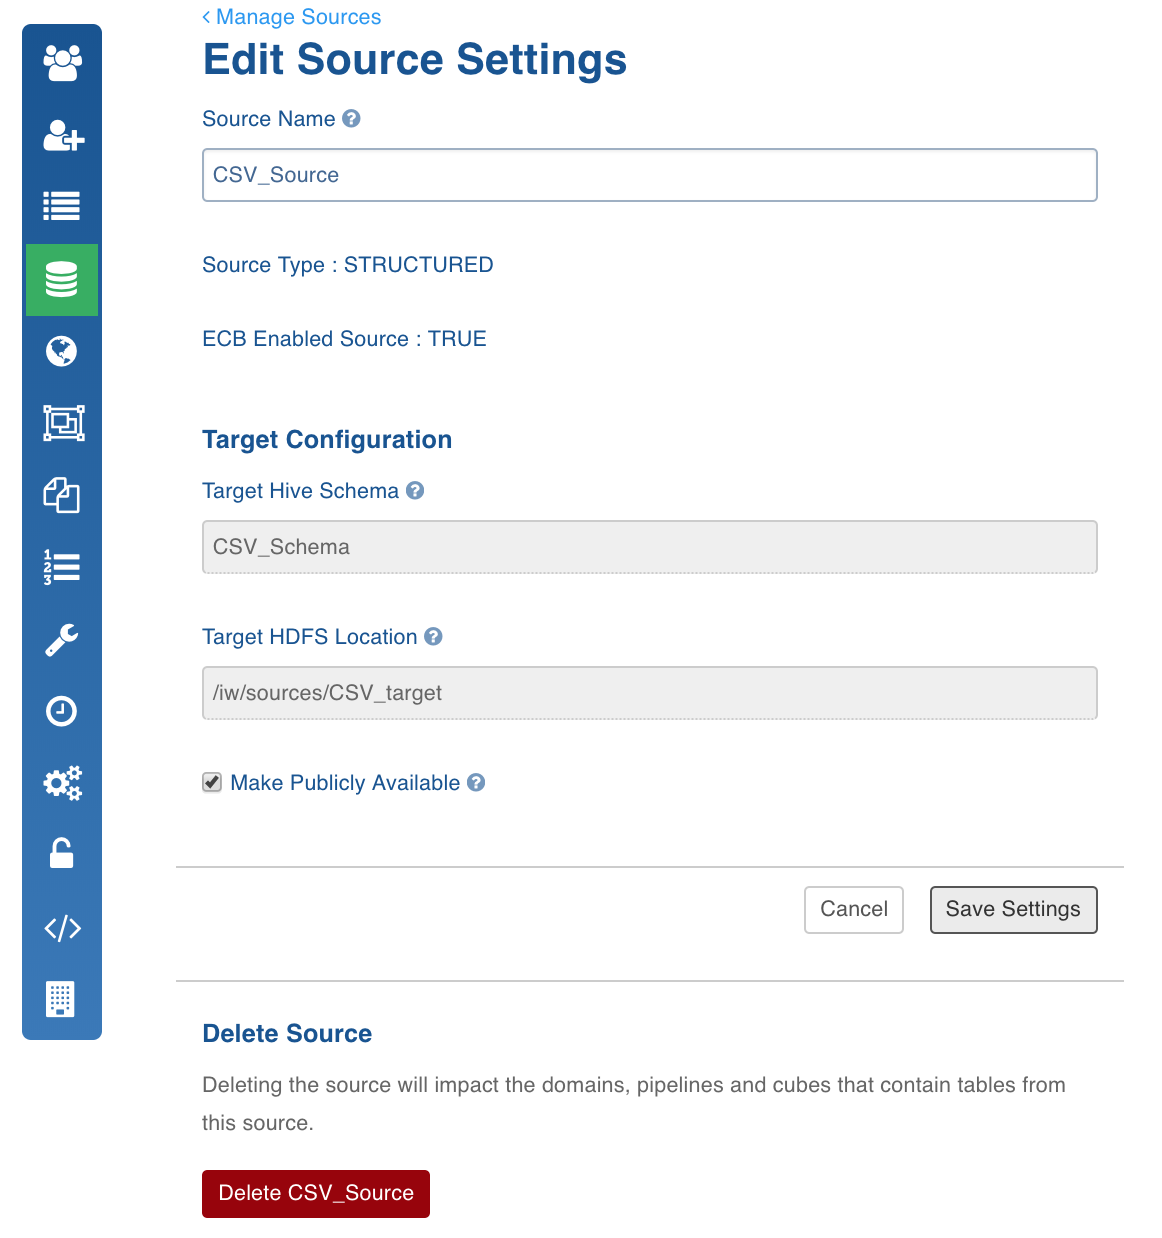
Editing or Deleting a Source
To edit or delete a source, follow these steps:
- On the Manage Sources page, click the source that you want to edit.
- Make the required edits and click Save Settings. To delete the Source, click Delete under the Delete Source section.
Job Search
This section allows searching for all Infoworks jobs that have been executed so far.
The default history view displays all the jobs for the last one day.
- Click the Admin menu and click the Job Search icon.
In the Search Jobs page, enter the following details:
- From: Filter the history view for all jobs executed on or from this timestamp
- To: Filter the history view for all jobs executed on or before this timestamp.
- Status: Filter the history view based on the status of the job. The user can select one or more statuses from the following: Pending, Running, Failed, Canceled, Blocked, Aborted, Completed.
- Job Ids : Filter the history view with comma separated job IDs.
Entity: Filter the history view based on the entity type.
Job type: Filter the history view based on type of job.
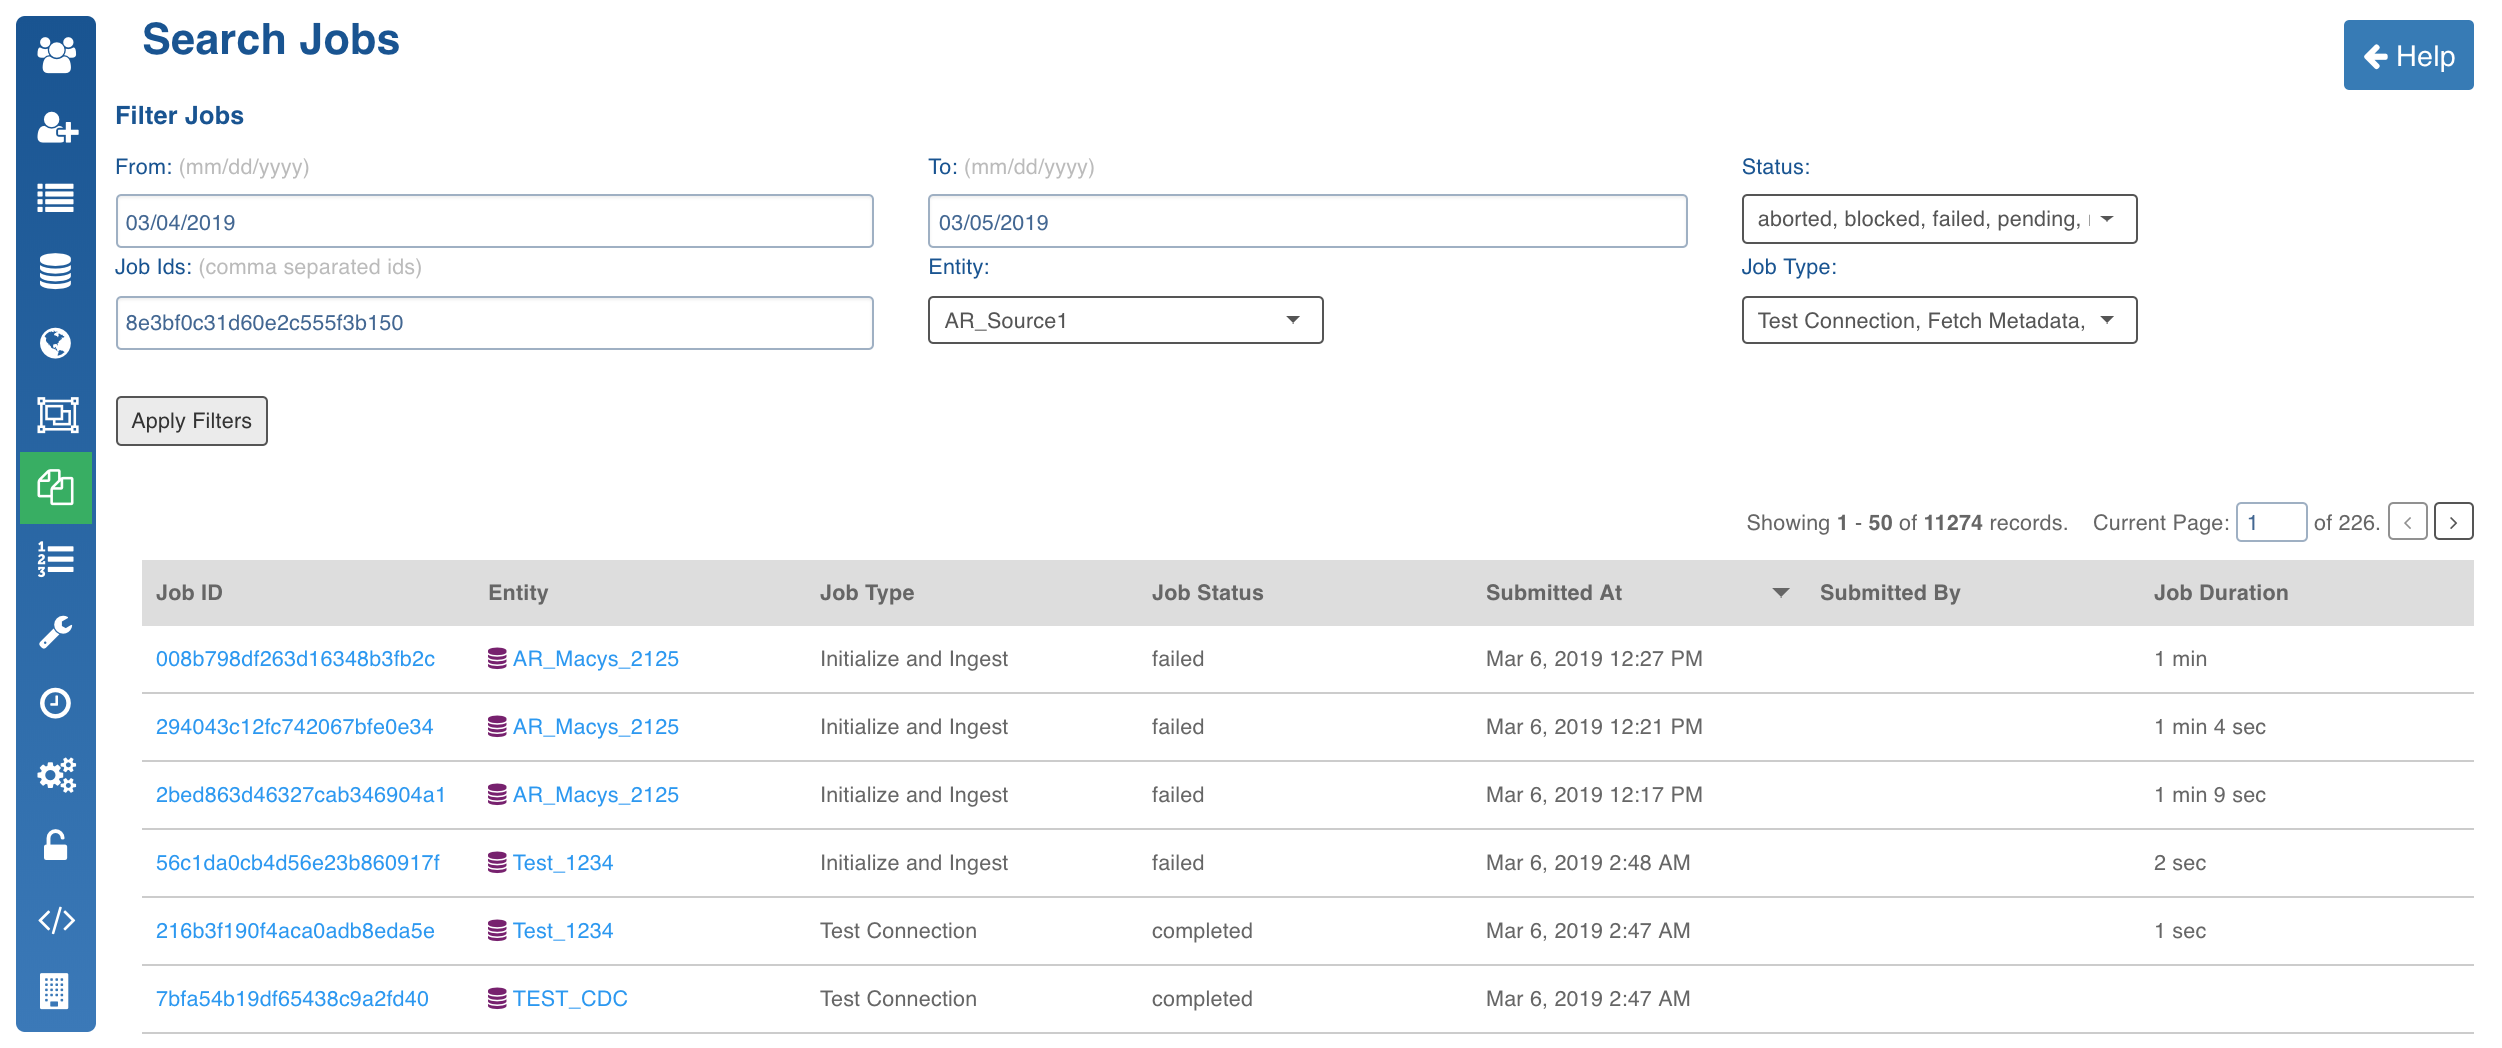
The history view table displays the following information about a job:
- Job ID: Identifier for a job
- Entity: Entity name associated with the job
- Job Type: Type of job executed
- Job Status: Status of the job execution
- Submitted At: Timestamp of job submission
- Started At: Timestamp of job execution
Job Queue
This section lists down all the Infoworks jobs that are present in the queue.
NOTE: Completed, failed and aborted jobs will not appear in this list. Only jobs that are pending to be picked up by the executor, or is running, or is blocked will appear here.
Click the Admin menu and click the Job Queue icon.
Job Queue section displays the following details of a job:
- Job: Type of the job along with the entity with which it is associated.
- Progress: Progress of completion for all running jobs.
- In Queue: Shows the total time for which a job had to wait in the queue before getting picked up by the executor.
- Blocked Reason: Displays the reason for which a job is blocked.
- View Logs: Shows the log for a job
- Cancel Job: Clicking this cancels the job and removes it from the queue.

Configurations
This section manages all configurations for the product.
Reset Locked Entities
Before Infoworks jobs are executed, the relevant entities are locked so that conflicting jobs do not run, causing data corruption. The lock is released after the job completes. Under rare situations, the lock on some entities do not get released.
Following are the steps to unlock/reset incorrectly locked entities:
- Click the Admin menu and click the Unlock Locked Entities icon. The Unlock Locked Entities screen displays the list of entities that are locked.
- Verify that the listed jobs are not running.
- Click Unlock Entities.
For more details, refer to our Knowledge Base and Best Practices!
For help, contact our support team!
(C) 2015-2022 Infoworks.io, Inc. and Confidential